13 Save These Mud Kitchen Ideas Before You Build
A mud kitchen looks simple at first, but the best ones are planned around how kids actually play. They need a reachable counter, a place for water, storage that makes sense, safe surfaces, washable tools, and enough open-ended materials to keep the play fresh. For families across the USA, a backyard mud kitchen can work in a tiny patio, a suburban lawn, a garden corner, or a narrow side yard when the layout is thoughtful from the start.
Save These Mud Kitchen ideas before you start building, because small choices make a big difference later. The right sink bowl can make cleanup easier. The right surface can prevent slippery messes. The right storage can keep the backyard from looking chaotic. These ideas are practical, charming, and easy to adapt, whether you want a rustic garden look, a compact patio setup, or a full backyard play zone.
1. Backyard Layout
- Choose a spot with shade, drainage, and easy supervision
- Keep it away from slippery walkways and delicate plants
- Use grass, mulch, gravel, or pavers under the play zone
- Make sure kids have room to stand, scoop, and move
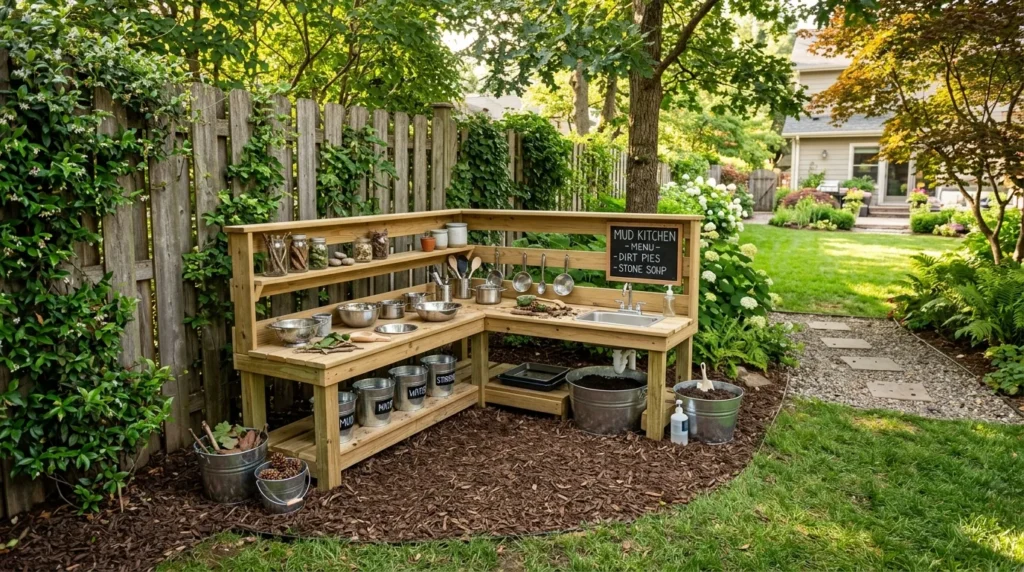
A smart backyard layout makes the whole mud kitchen easier to use because the mess stays where it belongs. Before adding counters or bowls, watch how your child moves through the yard and choose a place that feels visible but not in the way. A fence corner, patio edge, garden side, or shady tree area can work beautifully. In my experience, kids play longer when the kitchen feels like their own little zone, while parents relax more when they can supervise without standing directly over every muddy spoon.
The final setup should support movement, not just look cute in one photo. Leave room for children to step back, carry buckets, rinse tools, and reach baskets without bumping into patio furniture. If the area gets wet often, use gravel, mulch, or pavers for better drainage. Keep the kitchen away from doors if muddy footprints are a concern. A thoughtful layout turns outdoor play into a daily habit instead of a stressful cleanup project, which is exactly what makes a backyard feature worth building.
2. Child Height
- Build counters low enough for comfortable play
- Avoid tall setups that encourage unsafe climbing
- Use crates, benches, pallets, or small outdoor tables
- Test the height before securing anything permanently
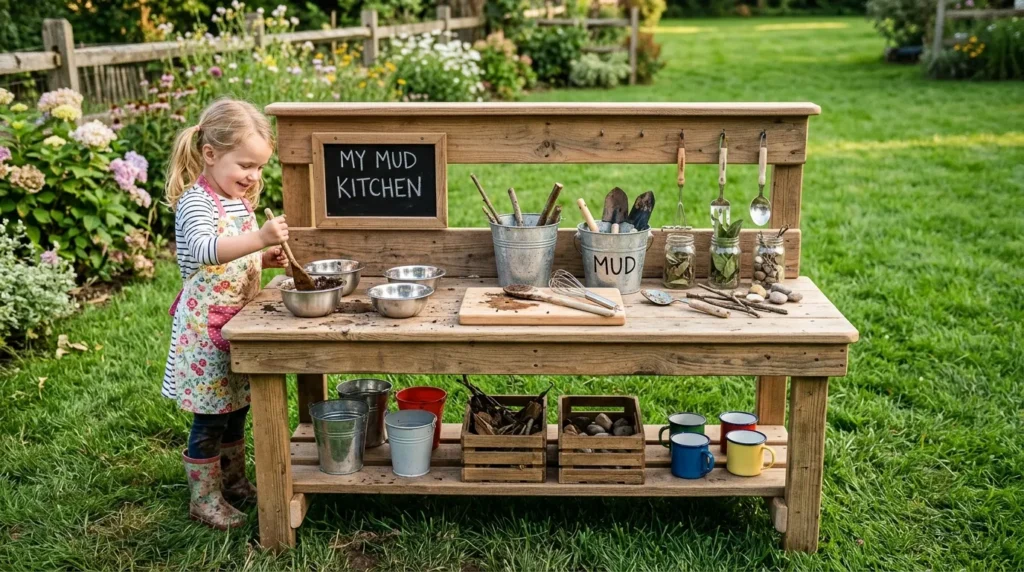
Child height matters more than fancy details because kids need to reach everything safely and comfortably. A mud kitchen should let children stand naturally, scoop from bowls, pour water, and use tools without stretching too high. Small outdoor tables, low potting benches, stacked crates, and pallet counters can all work if the surface matches the child’s size. Before attaching shelves or hooks, have your child stand near the setup and pretend to stir or wash. That quick test can prevent awkward design mistakes later.
The transformation is immediate when the kitchen fits the child instead of forcing the child to fit the furniture. Kids become more independent because they can grab spoons, use bowls, and return supplies without constant help. For younger children, keep tools low and simple. For older kids, add a second shelf or hanging rail above the counter. The result feels safer, more useful, and more inviting. A beautiful mud kitchen will only become a favorite play space if children can actually use it with confidence.
3. Simple Counter
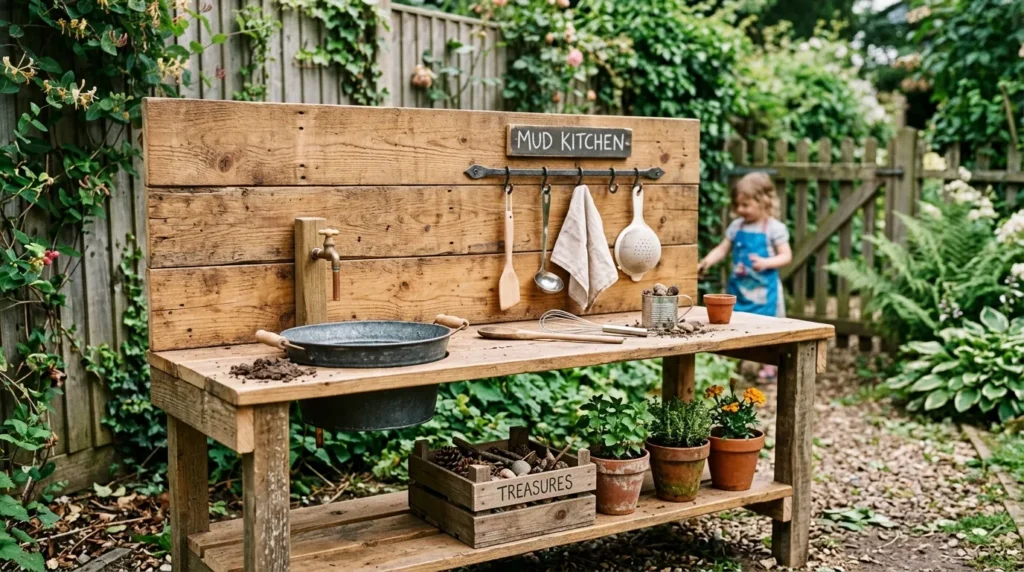
- Creates the main workspace for mud pies and pretend recipes
- Works with reclaimed boards, pallets, crates, or benches
- Needs sanding, stability, and outdoor-safe protection
- Can be narrow for small spaces or wider for siblings
A simple counter gives the mud kitchen structure because it becomes the place where all the mixing, sorting, washing, and pretend cooking happens. You do not need a complicated build. A smooth board over crates, an old outdoor table, a pallet with a top plank, or a repurposed potting bench can become the main workspace. Sand rough edges carefully, check for wobbling, and use outdoor-safe sealant if the wood will stay outside. The counter should feel sturdy enough for active, messy play.
The finished counter can look surprisingly polished with just a few thoughtful details. Add one removable bowl, one tray for nature supplies, and a few hooks underneath for buckets or spoons. If the yard is small, keep the counter narrow and use vertical storage above it. If several kids will play together, choose a wider surface with multiple bowls. The result is practical and flexible, giving children a clear place to create while keeping the backyard setup from spreading into a random pile of muddy tools.
4. Removable Sink
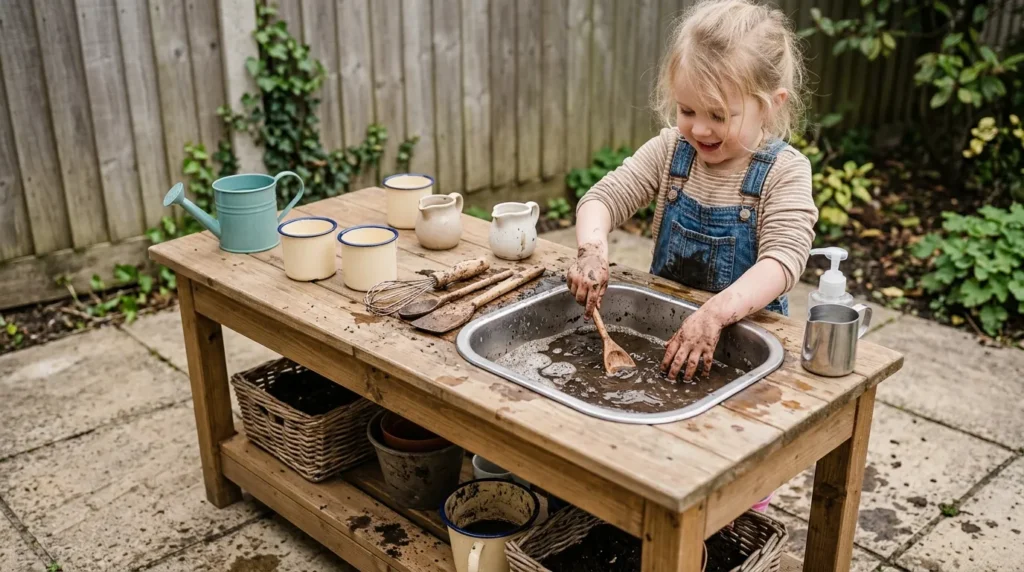
- Adds realistic washing and mixing play
- Makes cleanup easier after muddy water play
- Works with metal bowls, enamel basins, or plastic tubs
- Avoids the need for outdoor plumbing
A removable sink is one of the smartest mud kitchen features because it gives kids realistic play without creating a permanent cleanup problem. Use a stainless-steel mixing bowl, enamel basin, plastic tub, or old dish pan as the sink. It can sit on top of the counter or fit into a simple cutout if you want a built-in look. The key is making sure it lifts out easily. After play, you can dump muddy water safely, rinse the bowl, and let it dry upside down.
The sink quickly becomes the center of the play experience because children love washing stones, stirring leaf soup, rinsing spoons, and mixing muddy cake batter. Add a small pitcher, watering can, or camping jug nearby so they can control water in small amounts. This keeps play exciting without flooding the entire yard. The result is realistic, low-maintenance, and very parent-friendly. It also makes the kitchen look complete, even if the rest of the setup is made from crates, scrap wood, or thrifted outdoor pieces.
5. Tool Storage
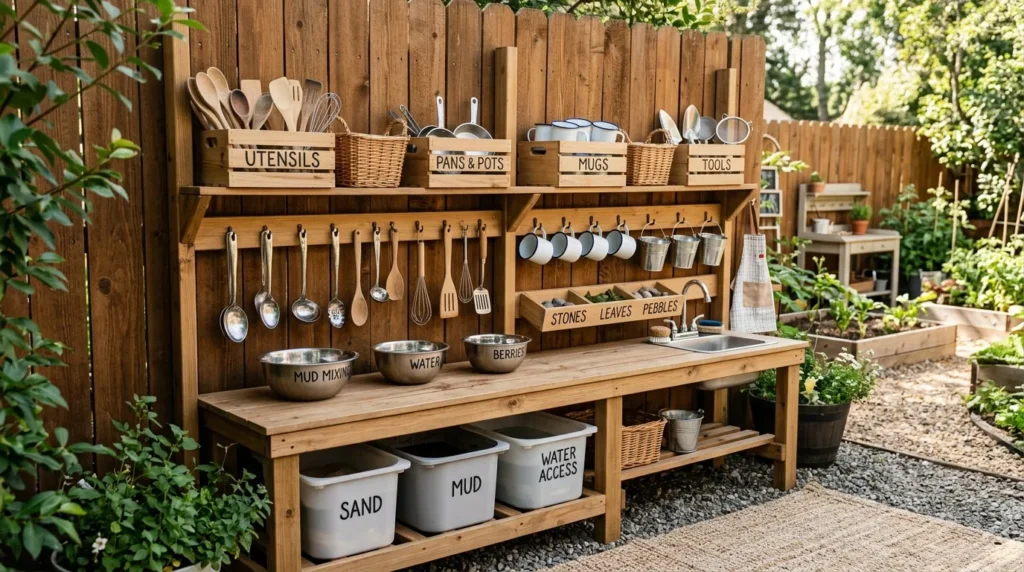
- Keeps spoons, cups, pans, and bowls organized
- Works with hooks, crates, baskets, bins, and shelves
- Helps children clean up independently
- Prevents the backyard from looking messy between play sessions
Tool storage can make or break a mud kitchen because open-ended play uses a lot of small pieces. Without a system, spoons, cups, buckets, muffin tins, and bowls end up scattered across the yard. Use crates under the counter, hooks above the surface, baskets for clean tools, and a separate bin for muddy items. Keep everyday supplies where children can reach them. I’ve noticed mud kitchens stay popular longer when cleanup is simple enough for kids to help with after play.
The visual effect is also important. Organized storage makes the play space look intentional instead of forgotten. A row of hanging spoons, stacked enamel cups, and labeled crates can look charming against a fence or garden wall. Keep heavy items low and lightweight tools higher. Use lidded bins for chalk, fabric items, or supplies that need to stay dry. The result is more attractive and more usable. Parents are more likely to say yes to messy play when the reset routine is built into the design.
6. Water Station
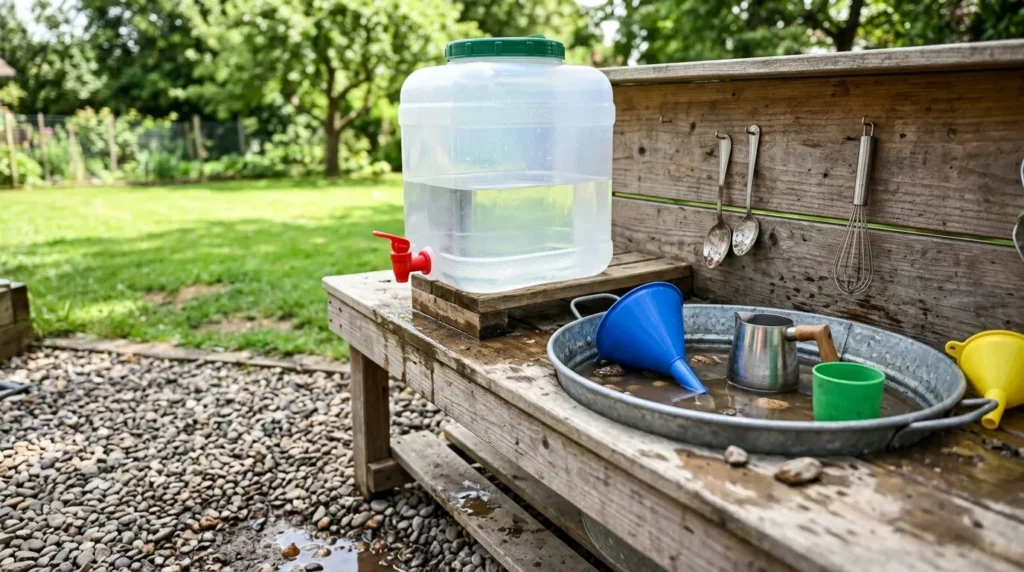
- Adds pouring, rinsing, measuring, and mixing play
- Works with watering cans, jugs, buckets, or dispensers
- Keeps water controlled without plumbing
- Best placed where spills can drain safely
A water station makes mud kitchen play feel alive because water changes every texture children create. You do not need a hose connection or outdoor plumbing. A camping jug, small bucket with a spout, watering can, drink dispenser, or plastic pitcher gives children enough water to pour, rinse, and experiment. Place it near the sink or mixing area so they can fill bowls without walking across the yard. Smaller water sources also help prevent the play zone from becoming a flooded mess too quickly.
The best setup includes a surface that handles spills well. Grass, pea gravel, mulch, or patio pavers usually work better than slick concrete. Add funnels, measuring cups, basins, and small pitchers to make pouring more interesting. Children can test thick mud, watery soup, smooth paste, and pretend drinks while learning cause and effect through play. The result is hands-on, practical, and endlessly reusable. A controlled water station gives kids independence while helping parents manage the mess in a realistic backyard way.
7. Nature Pantry
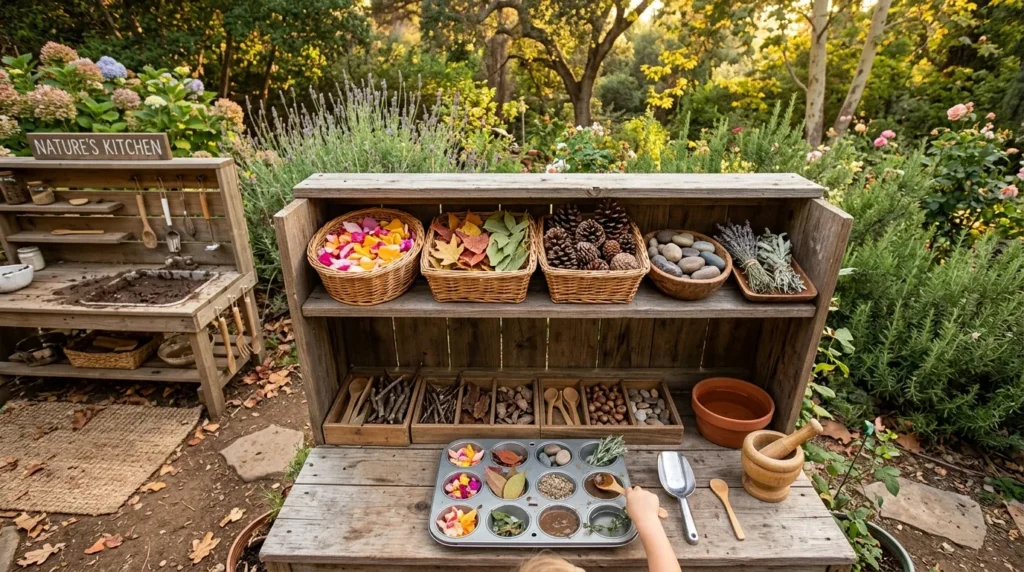
- Uses free backyard materials as pretend ingredients
- Works with leaves, petals, stones, pinecones, herbs, and sticks
- Encourages sorting, counting, smelling, and decorating
- Easy to refresh by season without buying more toys
A nature pantry gives children visible ingredients to choose from, which makes pretend cooking feel richer and more creative. Use shallow baskets, muffin tins, trays, or small bowls to hold leaves, petals, smooth stones, pinecones, seed pods, grass, and safe herbs. When these materials are organized, children naturally sort colors, compare textures, count pieces, and decorate mud pies. This idea works beautifully because it uses what the backyard already offers, making the kitchen feel connected to the outdoors instead of filled with plastic clutter.
The pantry can change with the seasons, which keeps the play fresh without extra spending. Spring can bring petals and mint, summer can bring grass and shells, fall can bring colorful leaves and acorns, and winter can include evergreen pieces or smooth stones. Avoid poisonous plants, treated mulch, sharp sticks, and small choking hazards for younger children. The result is sensory-rich, affordable, and beautiful. Natural textures also look lovely beside wood counters, metal bowls, and garden backdrops, giving the whole setup a softer, more intentional style.
8. Chalkboard Menu
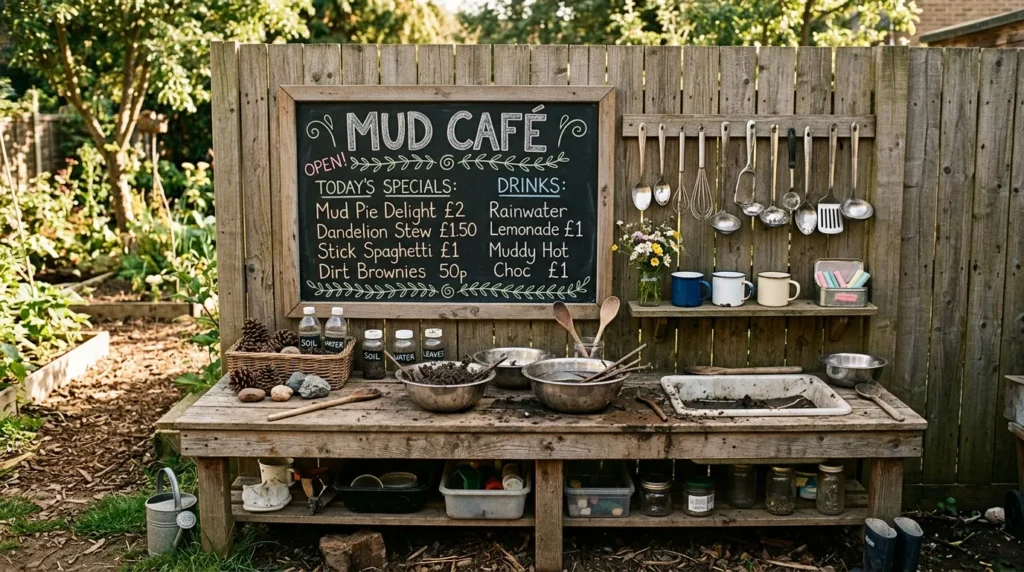
- Adds pretend café, bakery, or garden restaurant play
- Encourages drawing, writing, counting, and naming
- Works with chalk paint, framed boards, or fence panels
- Makes the kitchen look styled without much cost
A chalkboard menu gives the mud kitchen instant personality because it turns messy play into a pretend café or backyard bakery. Mount a weather-safe chalkboard on a fence, wall, or backing board near the counter. Children can draw recipes, write prices, name their mud pies, and take pretend orders. This adds literacy and storytelling without making the activity feel like school. Use outdoor chalkboard paint or a sealed board, and keep chalk in a small covered container so it lasts longer outside.
The visual upgrade is big for such a simple feature. A chalkboard creates a focal point and makes even a basic crate kitchen look finished. Parents can write prompts like “leaf soup,” “stone stew,” “flower tea,” or “mud muffins” to spark new ideas. Older children can decorate the board before playdates or backyard parties. The result is playful, useful, and easy to refresh. It also helps the kitchen feel different from week to week, which keeps children interested without adding more toys or supplies.
9. Mud Bakery
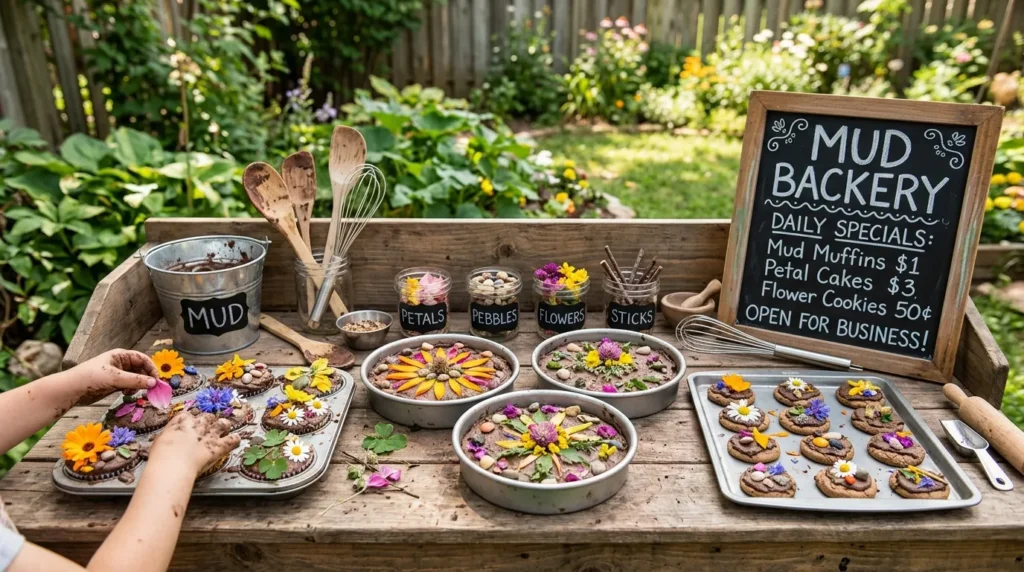
- Creates focused pretend baking play
- Works with muffin tins, trays, cake pans, and spoons
- Encourages scooping, pressing, filling, and decorating
- Great for siblings, playdates, and backyard parties
A mud bakery gives children a clear theme that makes outdoor play easy to understand and repeat. Set out muffin tins, cake pans, silicone molds, trays, spoons, and spatulas so kids can scoop mud into shapes and decorate each piece. Add petals, leaves, pebbles, pinecones, and herbs as pretend toppings. This works especially well because divided trays guide the play while still leaving room for imagination. Children can make cupcakes, pies, cookies, pancakes, birthday cakes, or café treats with the same tools.
The finished bakery station can look adorable without much spending. Add a small chalk sign, a serving shelf, and a basket labeled “toppings” for extra charm. Use safe, washable, non-sharp kitchen items that are no longer needed indoors. The result supports fine motor skills, sorting, counting, and pretend storytelling while feeling like pure fun. It also works beautifully for groups because each child can decorate their own muddy creation. This is one of those ideas that looks cute and functions well in real backyards.
10. Herb Shelf
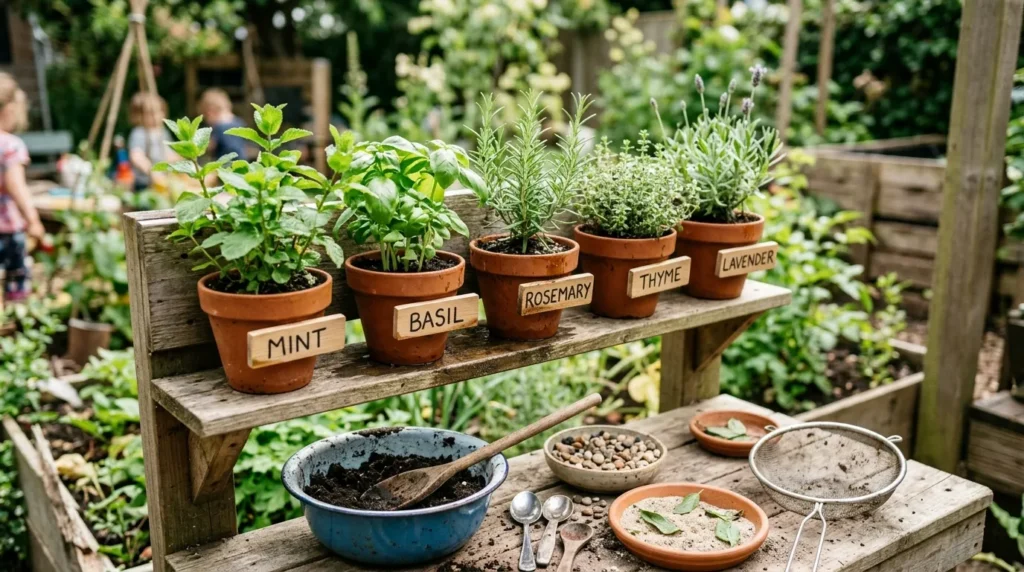
- Adds scent, color, and garden learning
- Works with mint, basil, rosemary, thyme, and lavender
- Fits on crates, shelves, planters, or narrow tables
- Gives kids safe ingredients for pretend soups and teas
An herb shelf makes a mud kitchen feel alive because scent adds a memorable layer to sensory play. Place child-safe herbs in small pots near the counter so children can smell, touch, pick tiny pieces, and mix them into pretend recipes. Mint, basil, rosemary, thyme, and lavender are popular options, but always choose plants your family recognizes and feels comfortable handling. This detail helps children connect pretend cooking with real garden textures, making the play feel calmer, greener, and more meaningful.
The finished shelf looks beautiful beside wood, metal bowls, and natural baskets. Use terracotta pots, wooden labels, and a shallow tray underneath to catch soil or water. Teach children to pick gently so the herbs keep growing through the season. This small upgrade is especially useful on patios or compact yards where greenery is limited. The result is fragrant, educational, and visually soft. It gives children natural “seasonings” for soups, teas, and mud pies while making the whole play area feel more styled.
11. Shade Nook
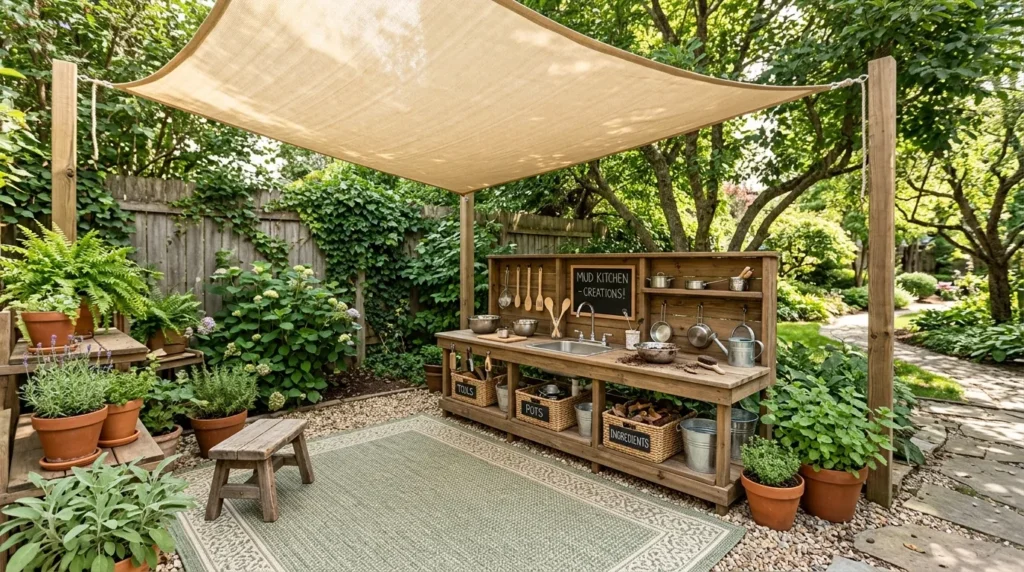
- Keeps children comfortable during sunny outdoor play
- Works with umbrellas, shade sails, pergolas, or covered patios
- Protects tools and surfaces from harsh heat
- Helps define the kitchen as a special backyard zone
A shade nook makes a mud kitchen more usable because comfort affects how long children actually play. Place the setup under a shade sail, patio cover, tree canopy, pergola, or large umbrella. This is especially helpful during warm USA summers, when metal bowls, plastic tools, and wooden counters can become too hot in direct sun. Shade also helps reduce glare and keeps water play cooler. That’s why many backyard designers recommend planning shade before choosing decorations or accessories.
The finished area feels like a tiny outdoor room when you add a washable mat, low stool, baskets, and nearby planters. Keep airflow in mind, especially in humid climates, so the space feels comfortable instead of enclosed. If rain reaches the area, store chalk and extra supplies in lidded bins. The result is practical and inviting. A shaded mud kitchen photographs better in soft filtered light, but more importantly, it becomes a place children return to during relaxed afternoons instead of avoiding because it feels too hot.
12. Cleanup Corner
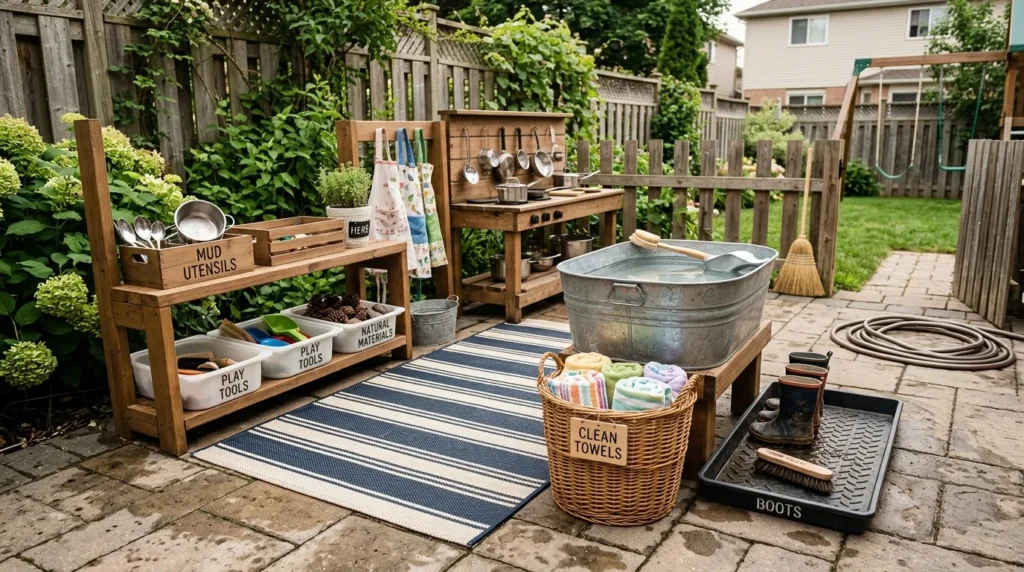
- Keeps muddy tools, wet hands, and dirty shoes contained
- Works with rinse buckets, towels, mats, and storage bins
- Helps children learn simple reset routines
- Makes messy play easier for parents to manage
A cleanup corner may not look like the most exciting feature, but it makes the mud kitchen easier to live with every day. Place a rinse bucket, towel basket, boot tray, or washable outdoor mat near the play area so children can clean hands, rinse spoons, and leave muddy tools outside. This prevents dirt from spreading across decks, patios, doorways, and indoor floors. In my experience, families use mud kitchens more often when cleanup feels predictable instead of overwhelming.
The cleanup area can still look attractive if the materials match the rest of the setup. Use a galvanized tub, woven basket, neutral outdoor mat, or labeled storage bin to keep everything organized. Teach children to place muddy tools in one container and cleaner dishes in another. The result is practical, parent-friendly, and important for long-term use. It protects the house, supports independence, and makes the whole backyard project feel sustainable. Messy play becomes easier to say yes to when the reset system is already there.
13. Build Checklist
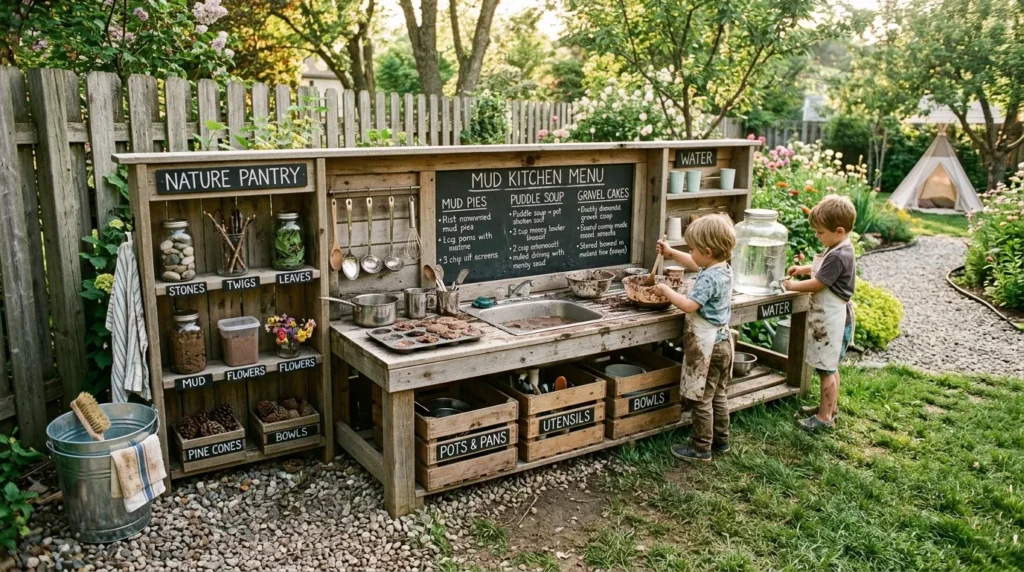
- Plan counter, sink, water, storage, surface, and cleanup first
- Keep materials simple, safe, washable, and weather-friendly
- Choose flexible details that can change with your child
- Finish with charm after the basic function works
A build checklist helps you avoid overcomplicating the mud kitchen before the essentials are in place. Start with the basics: a child-height counter, removable sink, controlled water source, safe ground surface, tool storage, and cleanup area. After those pieces work, add charm with a chalkboard, herb shelf, bakery tray, or market sign. Save These Mud Kitchen details in your planning notes before buying supplies, because the prettiest setup still needs to function through real mud, water, weather, and repeated play.
The best checklist is flexible because children’s play changes as they grow. Younger kids may need bigger bowls and fewer small items, while older children may enjoy menus, pretend shops, and more detailed ingredient stations. Choose materials that are easy to wash, move, replace, or repair. The result is a mud kitchen that looks good and works hard. Instead of building only for a photo, you create a backyard play space that can handle messy creativity, seasonal changes, playdates, and everyday family life.