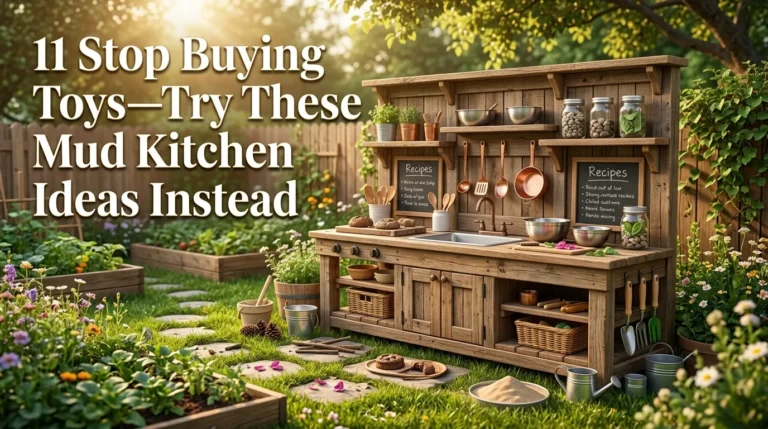
10 top mud Kitchen ideas
A kids’ mud kitchen does not need to be fancy to become the most-loved corner of the backyard. Sometimes, the smallest details make the biggest difference: a sturdy counter, a bowl sink, a water bucket, a few hooks, and a basket of tools. Children do not need perfect furniture or expensive outdoor toys. They need a space where they can scoop, pour, mix, pretend, and explore freely.
For USA families, this kind of backyard setup is practical because it encourages outdoor play without requiring a major renovation. A mud kitchen can fit beside a fence, on a patio, near a garden bed, under a tree, or even in a small side yard. The best design is easy to clean, safe to use, and simple enough for kids to enjoy without constant adult help.
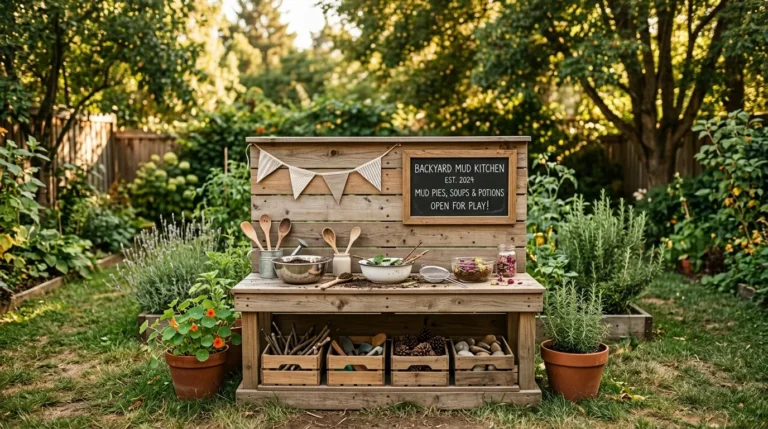
A Simple Mud Kitchen works beautifully because it gives children open-ended play. They can make mud pies, wash stones, collect leaves, serve pretend soup, and create their own backyard recipes. These ideas focus on small upgrades that improve play, storage, comfort, and visual appeal. You can use thrifted pieces, leftover wood, garden supplies, and basic household items to create a setup that feels charming, useful, and easy to maintain.
1. Easy Counter
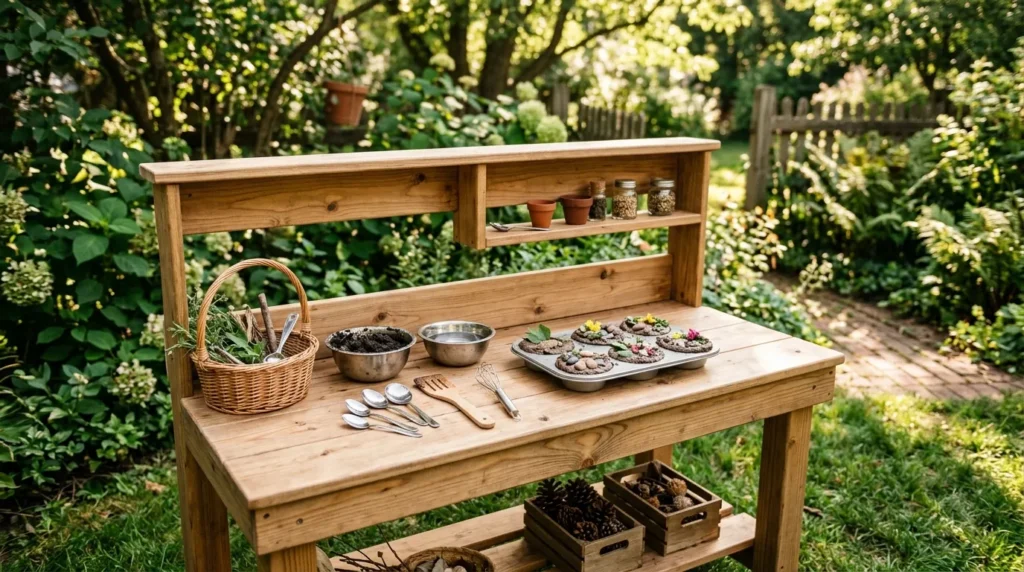
- Creates the main surface for mixing, pouring, sorting, and pretend cooking.
- Works with a small outdoor table, potting bench, pallet frame, or sealed board.
- Keeps messy play in one clear area instead of spreading across the yard.
- Looks better when the surface is smooth, sturdy, and child-height.
A strong counter instantly gives the mud kitchen a real purpose. Children need a steady surface where they can place bowls, stir mud, line up leaves, and serve pretend meals. A small table, leftover board, potting bench, or pallet-style frame can work well if it is safe and stable. The surface should be low enough for kids to reach without stretching. In my experience, children play longer when the counter feels open, reachable, and strong enough for everyday mixing, scooping, and imaginative outdoor projects.
For a cleaner look, sand the counter carefully and use outdoor-safe sealant or paint. Natural wood blends beautifully with grass, fences, and garden beds, while soft colors like cream, sage, tan, or dusty blue add a gentle styled finish. Leave one side clear for messy mixing and use the other side for trays or finished pretend food. This small layout choice makes the play area more organized. It also helps parents clean faster because most dirt, water, and tools stay on one easy-to-wipe surface.
2. Bowl Sink
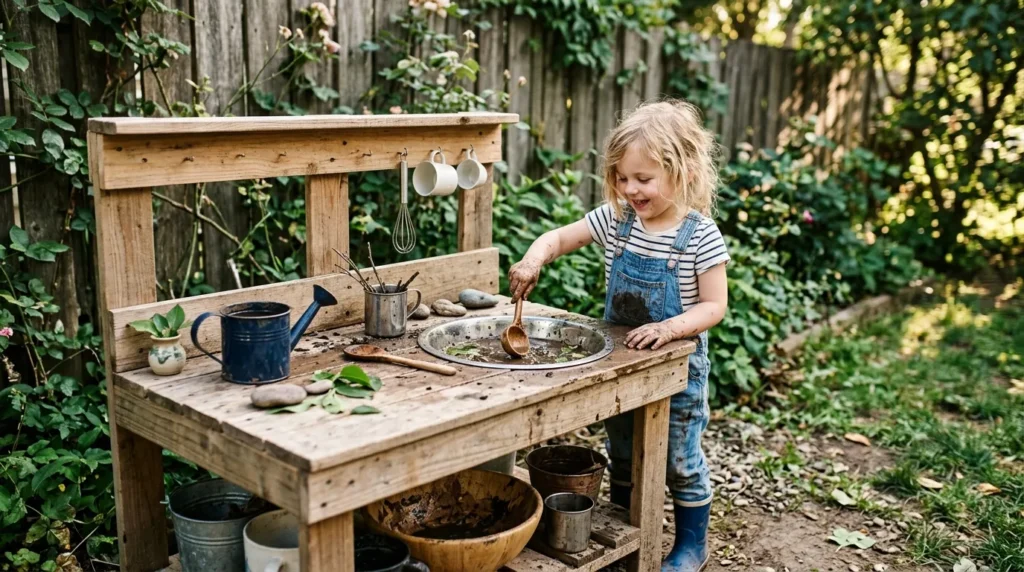
- Adds realistic washing, rinsing, and water play without plumbing.
- Uses a stainless steel bowl, plastic tub, enamel basin, or thrifted mixing bowl.
- Makes the play kitchen feel more complete and practical.
- Can be removed, emptied, rinsed, and stored after playtime.
A bowl sink can make even the simplest setup feel like a real outdoor kitchen. Kids love rinsing rocks, washing leaves, stirring muddy water, and pretending to clean dishes after cooking. You do not need a working faucet or complicated plumbing. A metal mixing bowl, plastic dish tub, or enamel basin gives children the same satisfying play feature with far less work. This is one of the easiest upgrades for a Simple Mud Kitchen because it adds water play while staying affordable and easy to manage.
Place the bowl on top of the counter or fit it into a cutout if you are comfortable using tools. A drop-in style looks polished, but a loose removable bowl is often more useful for families. That’s why many designers recommend removable pieces for outdoor children’s play areas. They are easier to dump, rinse, dry, and store during bad weather. Add a small towel hook or drying tray beside the sink so children can complete the pretend washing routine and keep the whole station feeling tidy.
3. Tool Rail
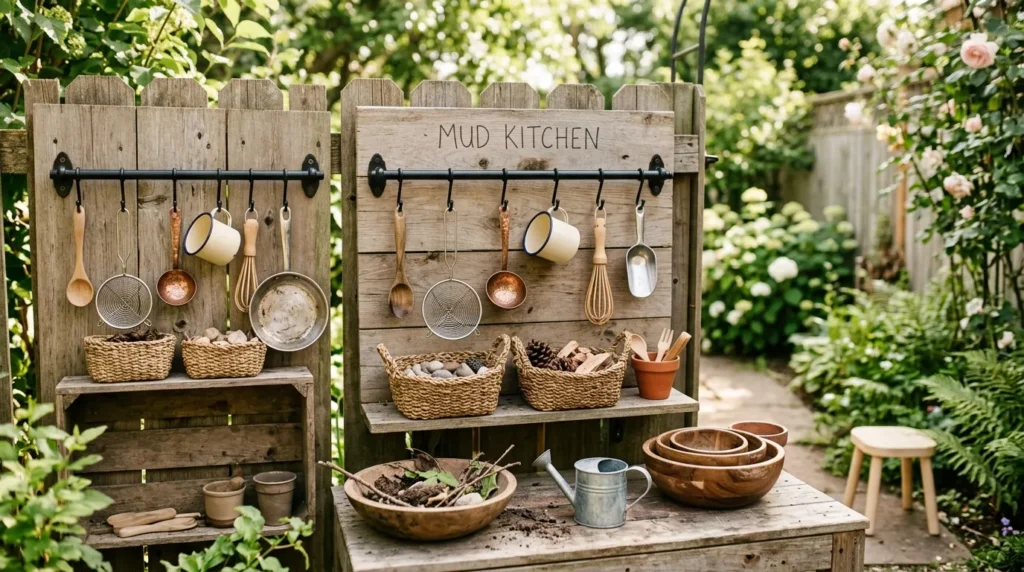
- Keeps spoons, cups, strainers, and pans visible and easy to reach.
- Saves counter space by using vertical storage.
- Works on a fence, wooden board, pallet back, or peg rail.
- Helps children return tools after play because every item has a clear place.
A tool rail makes the mud kitchen look organized without taking up extra space. Instead of tossing spoons, cups, scoops, and pans into one messy bin, hang them where children can see each item. A wooden board, fence panel, pallet back, or peg rail can hold simple hooks at child height. This helps kids choose their own tools and start playing independently. It also keeps the counter open for mixing, pouring, and serving instead of becoming crowded with loose supplies before play even begins.
For the prettiest look, choose a small group of matching or coordinated tools. Wooden spoons, silver strainers, metal cups, and black hooks create a clean, timeless style. Avoid hanging too many pieces because clutter makes the station harder to use and less attractive. Leave space between tools so little hands can grab and return them easily. I’ve noticed tool rails work especially well for siblings because each child can pick a tool without digging through baskets or arguing over hidden pieces.
4. Water Bucket
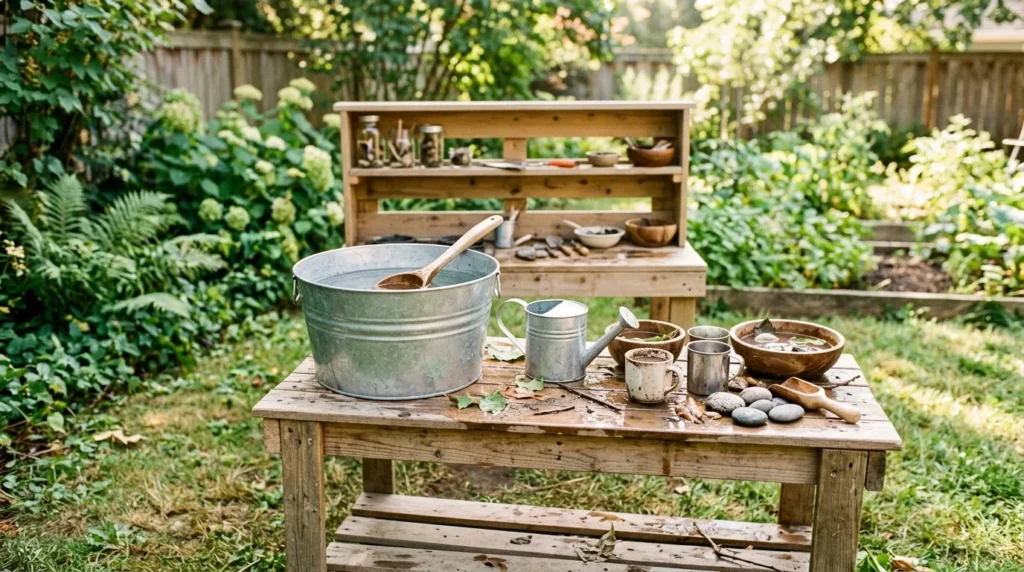
- Gives kids a simple water source for pouring, measuring, and mixing.
- Helps control water use better than a running hose.
- Works with a small bucket, watering can, camping jug, or drink dispenser.
- Makes sensory play more exciting without flooding the backyard.
A water bucket turns dry dirt play into a full sensory experience. Children love watching soil change when water is added, and they learn quickly how pouring affects texture. A small bucket, watering can, camping jug, or drink dispenser gives them enough water to create mud pies, soups, and pretend drinks without needing a hose running all afternoon. This setup gives children independence while helping parents manage the mess. A limited water source also keeps the play area from becoming too soggy or difficult to clean.
Place the water bucket on one side of the kitchen so the main counter stays open for bowls and trays. Add a ladle, scoop, or measuring cup to help younger children pour slowly. Empty the bucket after play to avoid standing water, bugs, and slippery spots. If you want a more polished look, place the bucket on a small wooden stand or crate. This makes the water area feel like part of the design instead of a random container sitting beside the station.
5. Nature Tray
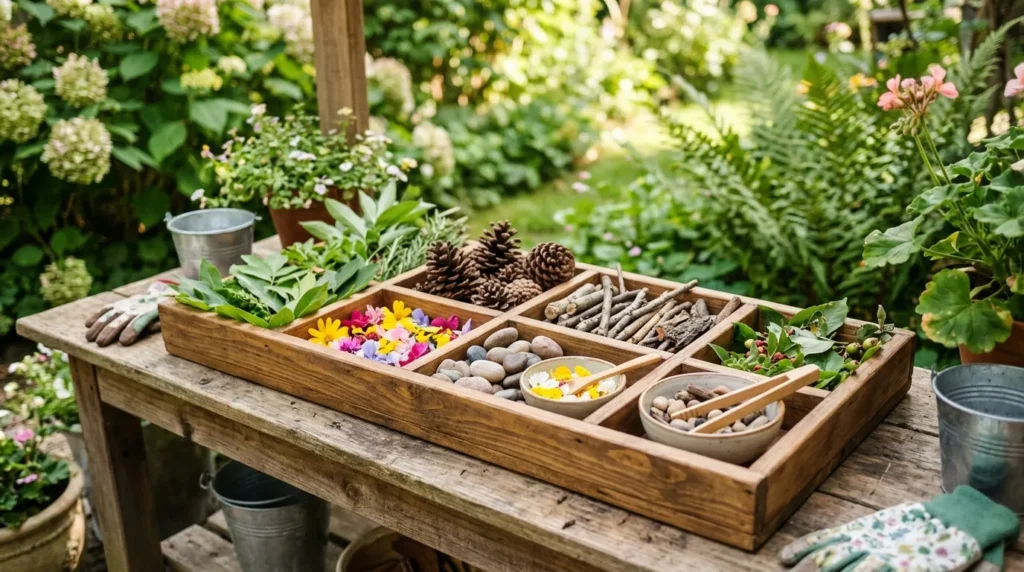
- Gives kids a place to collect leaves, petals, stones, sticks, and pinecones.
- Turns natural backyard finds into pretend cooking ingredients.
- Adds seasonal color, texture, and visual interest to the setup.
- Encourages sorting, observing, naming, and creative outdoor play.
A nature tray gives children a beautiful reason to explore the yard before they start cooking. Leaves can become salad, petals can become sprinkles, sticks can become cinnamon, and smooth stones can become pretend cookies. A shallow wooden tray, divided basket, muffin tin, or plastic sorting tray works well for this idea. It keeps natural materials from spreading everywhere and gives kids a small “ingredient station.” This simple detail makes the kitchen feel more imaginative, more organized, and more connected to the outdoor environment.
Use safe, lightweight containers and check collected items before play. Avoid sharp sticks, unknown berries, unsafe plants, and glass jars for younger children. You can change the tray with the seasons by adding spring flowers, summer herbs, fall leaves, or winter pinecones. This keeps the same mud kitchen feeling fresh without buying new toys. In my experience, children enjoy play more when they help gather the materials themselves. It gives them ownership and makes the whole outdoor setup feel like their own little garden workshop.
6. Crate Shelves
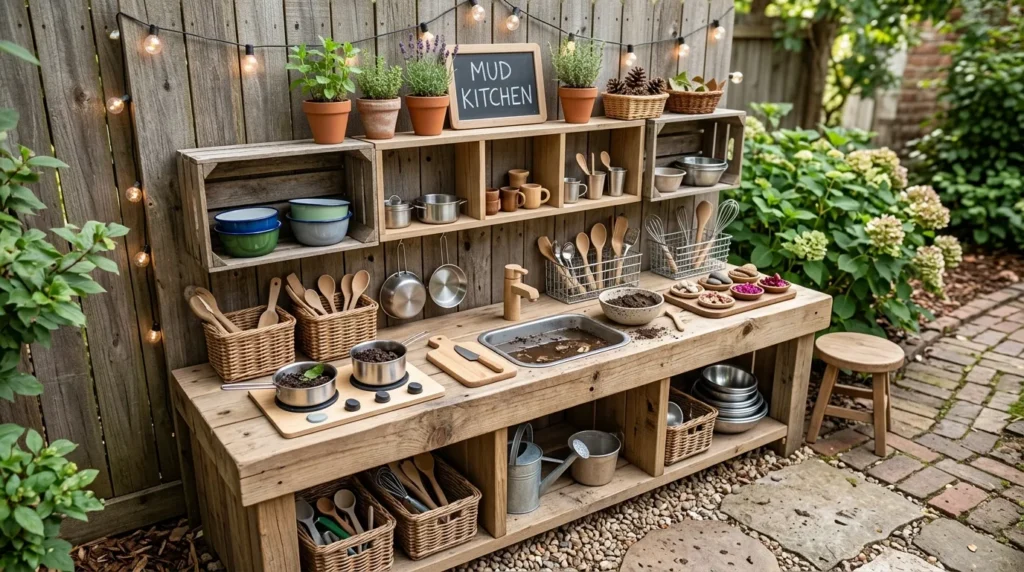
- Adds simple storage for bowls, cups, pans, and nature supplies.
- Uses affordable wooden crates, plastic bins, or small open shelves.
- Keeps tools visible so children can choose supplies independently.
- Makes cleanup easier because every item has a home.
Crate shelves make a small mud kitchen feel more complete and easier to use. Open storage is perfect for kids because they can see what is available without digging through closed boxes. Wooden crates, plastic bins, or small shelves can hold bowls, pans, scoops, towels, and nature trays. Stack crates sideways for cubbies or place them under the counter for a rustic storage base. This idea is especially helpful for families who want the play space to stay tidy between backyard sessions.
To keep the look clean, group similar items together. Put cups in one crate, pans in another, and nature supplies in a separate basket. If the crates are stacked, secure them so they do not shift when children pull items out. Soft wood tones look charming in garden spaces, while painted crates can match a playhouse, fence, or patio theme. A few simple labels or picture tags can help younger children learn where things belong, making cleanup feel easier and more natural after playtime.
7. Garden Backdrop
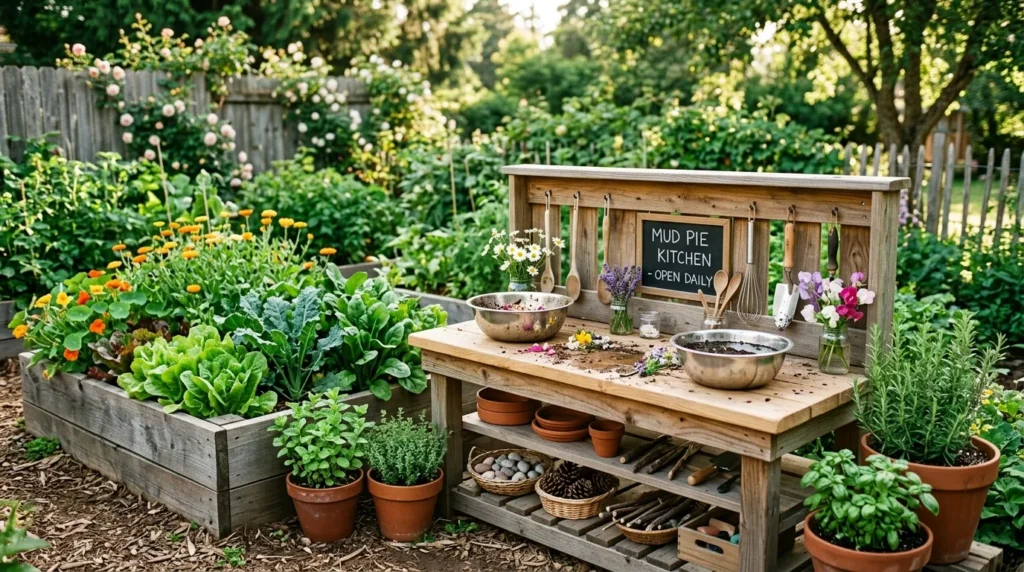
- Makes the mud kitchen feel connected to the outdoor space.
- Works beside raised beds, planters, herbs, flowers, or fence greenery.
- Adds color and softness without needing extra toys or decorations.
- Creates a prettier setup for Pinterest-style backyard photos.
A garden backdrop can make a mud kitchen look intentional instead of random. Placing the station near raised beds, planters, herbs, flowers, or a leafy fence gives the whole area a softer and more natural feel. Kids enjoy being close to real plants because they can notice smells, textures, insects, and seasonal changes while they play. The kitchen becomes more than a toy corner. It starts to feel like a tiny outdoor workshop where nature and pretend cooking naturally come together.
Keep the garden backdrop safe and low-maintenance. Choose hardy plants, avoid anything thorny or toxic, and use planters that will not tip easily. Herbs like mint, basil, rosemary, and thyme can add scent and texture, while simple flowers add color. A few pots behind the counter can make the setup look styled without adding clutter. I’ve seen this work well in many homes because plants help the play area blend into the yard instead of looking like a separate pile of children’s furniture.
8. Chalkboard Menu
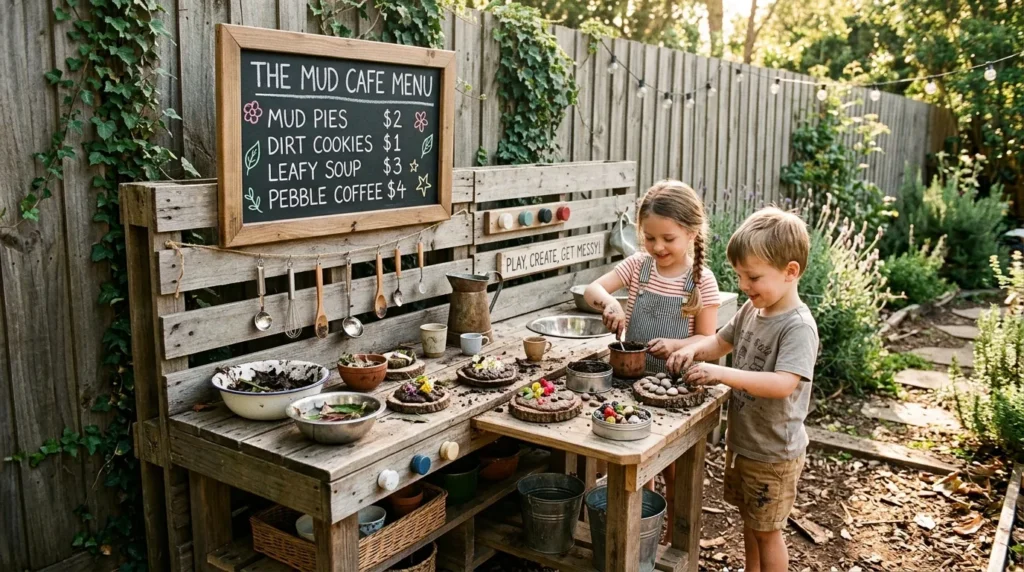
- Adds pretend café, bakery, or restaurant-style play.
- Gives kids a place to write recipes, specials, prices, or drawings.
- Works with a small chalkboard, painted board, or framed sign.
- Creates a cute focal point that makes the kitchen feel finished.
A chalkboard menu brings instant personality to a mud kitchen. Children can write pretend specials, draw mud pies, list leaf soup, or name their backyard café. Even younger kids who cannot write yet enjoy making marks and pretending to take orders. A small chalkboard, painted board, or framed sign can hang above the counter or sit near the serving area. This simple addition encourages language, imagination, and social play without adding complicated materials or taking up valuable counter space.
For a cleaner look, choose a chalkboard size that fits the kitchen instead of overwhelming it. A small rectangular board above a tool rail or beside a serving ledge usually works well. Keep chalk in a small cup or basket so it does not disappear into the yard. The menu can change every day, which gives children a fresh reason to return. This detail also helps the play space look photo-ready because it creates a clear visual focal point with a sweet handmade feel.
9. Ground Cover
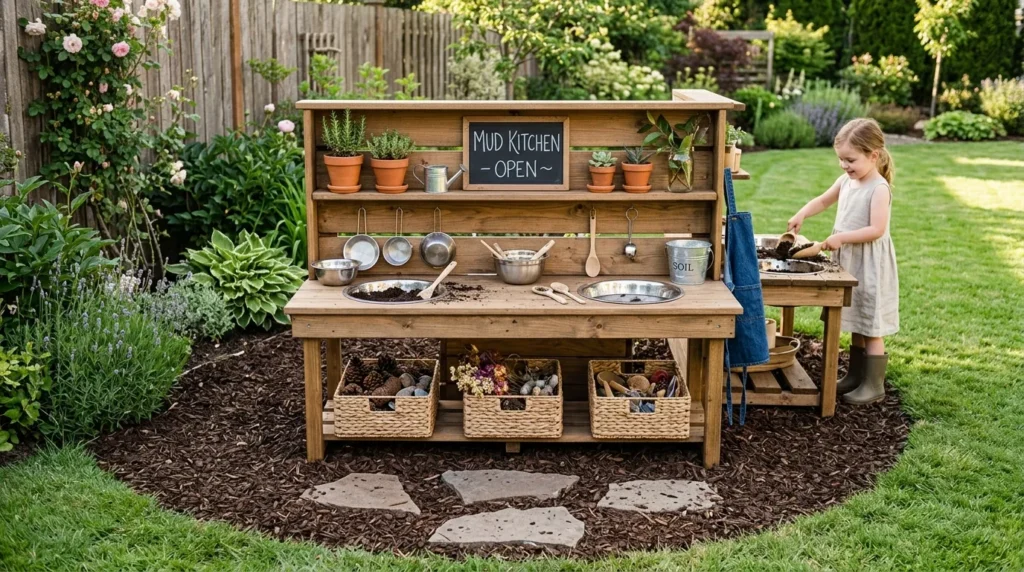
- Defines the mud kitchen area and helps control mess.
- Works with mulch, pea gravel, pavers, stepping stones, or outdoor mats.
- Helps prevent slippery mud patches around the main play zone.
- Makes the setup look more finished and easier to clean.
Ground cover is one of the simplest upgrades that makes a big difference in daily use. Without a defined base, the area around the mud kitchen can become slippery, messy, or patchy after repeated water play. Mulch, pea gravel, pavers, stepping stones, or an outdoor mat can help create a clear play zone. This makes the kitchen feel more like a planned backyard feature. It also helps children understand where messy play belongs, which keeps dirt and water from spreading too far.
Choose a surface that matches your yard and your child’s age. Mulch feels natural and soft, pea gravel drains well, pavers look clean, and outdoor mats are easy to move. Avoid materials that become too hot in direct sun or too slippery when wet. Leave enough space in front of the counter for children to stand, move, and carry bowls safely. A neat base makes the entire mud kitchen easier to maintain and gives the backyard a more polished, family-friendly look.
10. Cleanup Basket
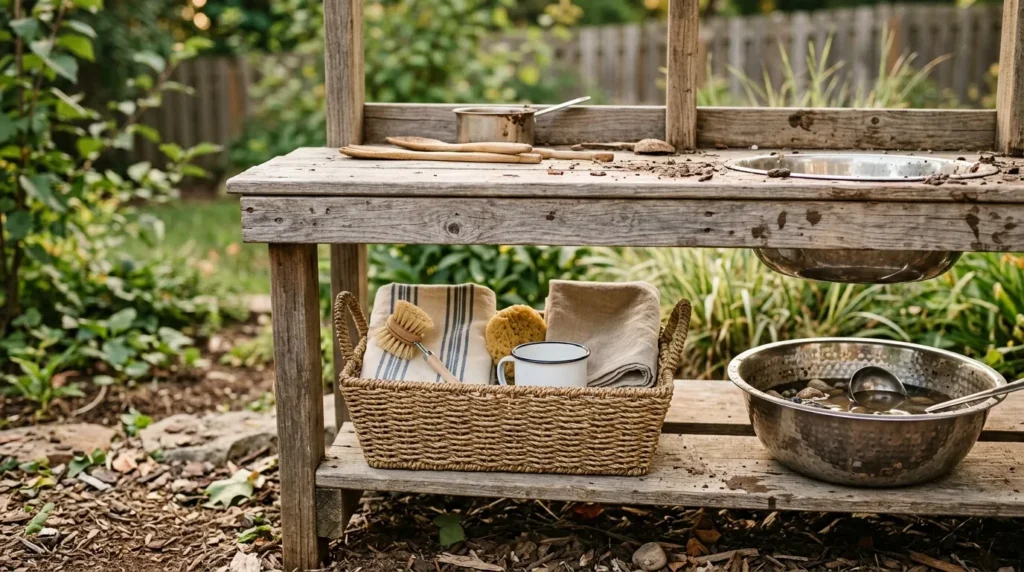
- Keeps cleaning tools in one easy-to-reach place.
- Holds a small brush, towel, rinse cup, sponge, and drying cloth.
- Teaches children to reset the kitchen after play.
- Helps parents maintain the area without removing the fun.
A cleanup basket helps messy play end without turning into a parent-only chore. Mud kitchens are meant to get dirty, but they are easier to enjoy when children learn a simple reset routine. A small basket can hold a brush, towel, sponge, rinse cup, and drying cloth. After play, kids can scrape bowls, wipe the counter, rinse spoons, and return tools to the rail or shelves. This builds responsibility in a gentle, practical way while keeping the outdoor station ready for next time.
Keep the routine short and realistic for your child’s age. Younger children may only return one bowl and hang one spoon, while older kids can rinse several tools and wipe the counter. Store the cleanup basket under the counter or beside the sink basin so it is easy to find. This final detail completes the play cycle: gather, mix, serve, wash, and reset. A Simple Mud Kitchen becomes much easier to maintain when cleanup supplies are visible, simple, and part of the design.