12 Create a Backyard Mud Kitchen for Outdoor Play in One Day
backyard mud kitchen is more than just a play area—it’s a creative hub where children can explore, experiment, and learn through hands-on activities. Designing one in a single day is achievable with the right planning, materials, and simple DIY techniques. Not only does it encourage imaginative cooking and sensory play, but it also nurtures problem-solving, collaboration, and fine motor skills. By creating a space tailored for outdoor fun, kids are drawn to explore textures, water, and natural materials, while parents enjoy a controlled, organized setup. This guide provides practical, visually appealing, and easy-to-implement ideas to transform any backyard.
1. Pallet Counter Station
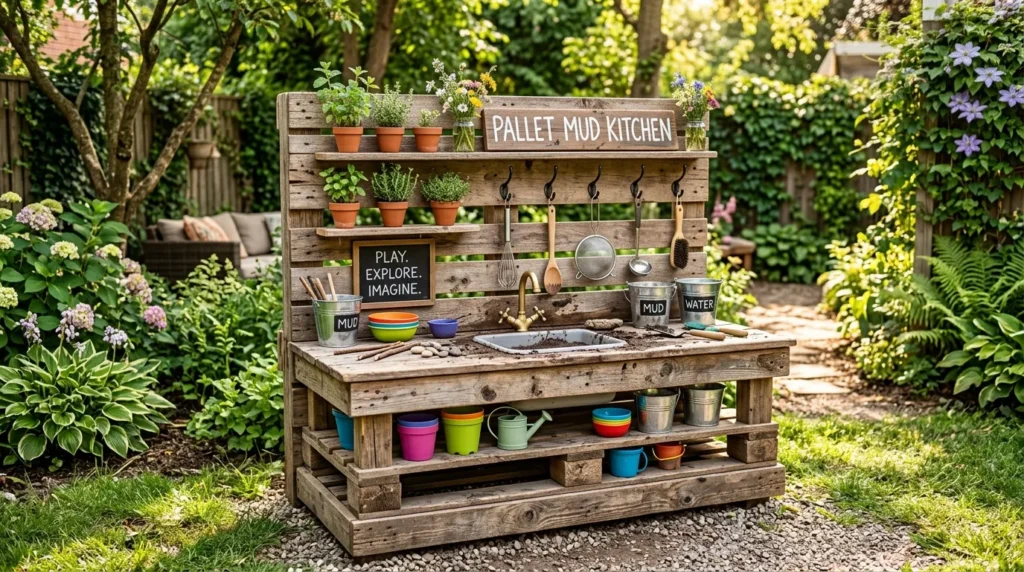
- Repurposes old wooden pallets for a sturdy base
- Provides natural, rustic texture for sensory appeal
- Offers versatile shelving for mud, tools, and containers
- Easy to assemble and weatherproof with simple treatments
A pallet counter station is a smart starting point for any backyard mud kitchen. The wooden slats create a robust surface for mixing mud and water, while natural textures enhance tactile experiences. Pallets are widely available, cost-effective, and can be cut or stacked to fit your space perfectly. In my experience, children are immediately drawn to the rustic charm, and the open slats allow for easy drainage during water-based play. Adding a simple sealant or sanding edges ensures safety and longevity. The design is practical, visually appealing, and flexible enough for future modifications.
This setup transforms your backyard corner into an interactive play area that’s accessible and inviting. By stacking pallets or adding small crates, you create compartments for utensils and mud ingredients, encouraging organization. Children can reach different heights comfortably, enhancing usability for multiple participants. The modular nature allows for additional features like a chalkboard menu, hooks for scoops, or even a small garden patch nearby. The combination of sustainability, practicality, and playful aesthetic makes this idea an ideal foundation for a one-day DIY mud kitchen setup.
2. Basin Mixing Station
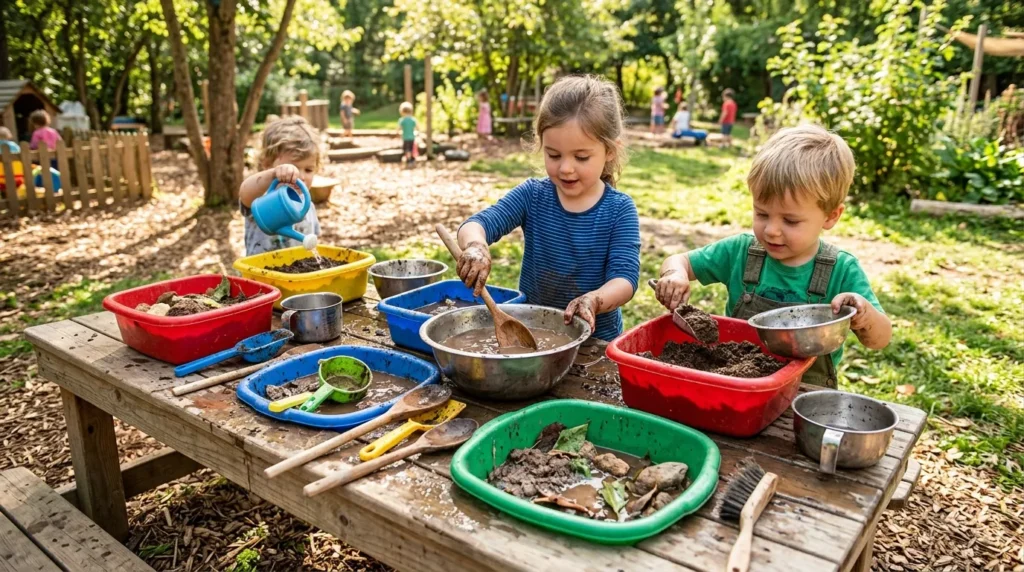
- Incorporates portable basins for controlled mud and water play
- Easy to move, clean, and store after use
- Encourages multiple children to engage simultaneously
- Reduces mess while providing sensory stimulation
A basin mixing station provides a contained, flexible area for creating mud pies and water concoctions. Wide, shallow basins allow kids to explore textures safely while staying within a manageable area. Plastic, metal, or even wooden bowls work well, depending on durability and budget. This setup encourages sensory exploration, tactile learning, and collaborative play. I’ve seen this work well in many homes where children are fascinated by combining mud, water, leaves, and small natural items. By using separate basins, you can also experiment with different textures or colors of soil for added creativity.
Once positioned on a sturdy surface or directly on the ground with a tray, these basins create a designated, organized space. Kids can scoop, pour, and stir without excessive spills, keeping the area tidy. Portable basins can also be rotated or replaced depending on play preferences, making them versatile for changing activities. The setup is simple but effective, enhancing the usability and longevity of your backyard play area. Adding a few child-friendly tools like spoons, funnels, or sieves further enriches engagement and skill-building.
3. Upcycled Drawer Kitchen
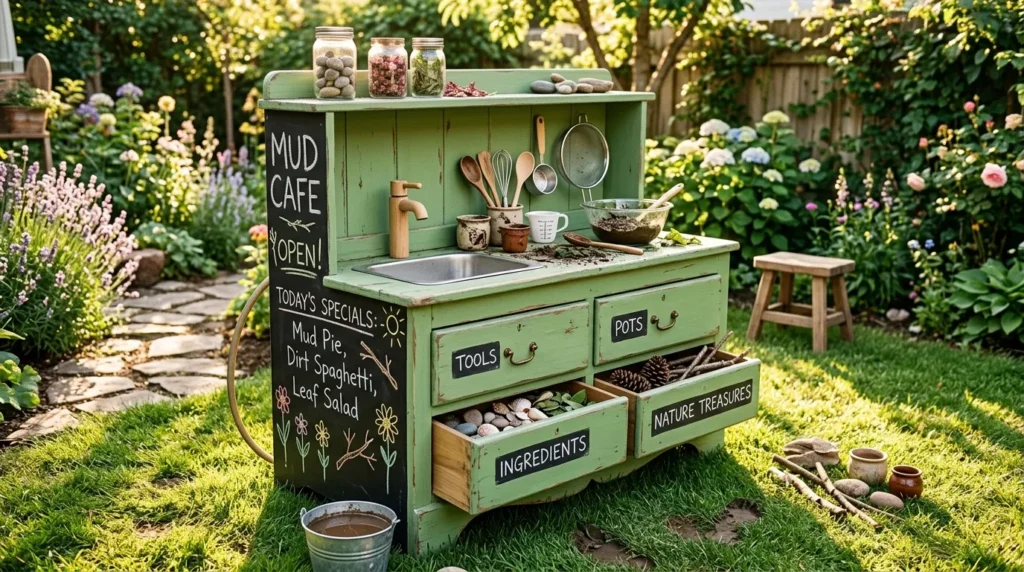
- Converts old furniture into functional mud kitchen counters
- Drawers provide accessible storage for tools and ingredients
- Easy to customize with paint or chalkboard panels
- Adds a realistic and visually charming “kitchen” vibe
Using upcycled furniture like old dressers or tables creates an instant mud kitchen with personality. The drawers become storage for small bowls, utensils, and natural elements, while the tabletop serves as a durable mixing surface. Painting with weather-resistant colors or adding chalkboard panels enhances both aesthetics and interactive fun. I’ve noticed that children are drawn to furniture that feels like a real kitchen, which increases engagement and imaginative play. Upcycling also reduces waste and aligns with sustainable outdoor play principles, making it a win-win for families.
The transformation is dramatic: an old, unused dresser becomes the centerpiece of your backyard play area. Children can use it to “cook,” “serve,” and organize materials creatively. Hooks or baskets on the sides increase storage and keep tools visible, teaching kids responsibility. The furniture adapts to different play themes, whether mud pies, potions, or pretend meals. This approach creates a functional, interactive, and visually appealing space without requiring expensive materials, perfect for a one-day DIY project that delivers instant results.
4. Tiered Crate Shelving
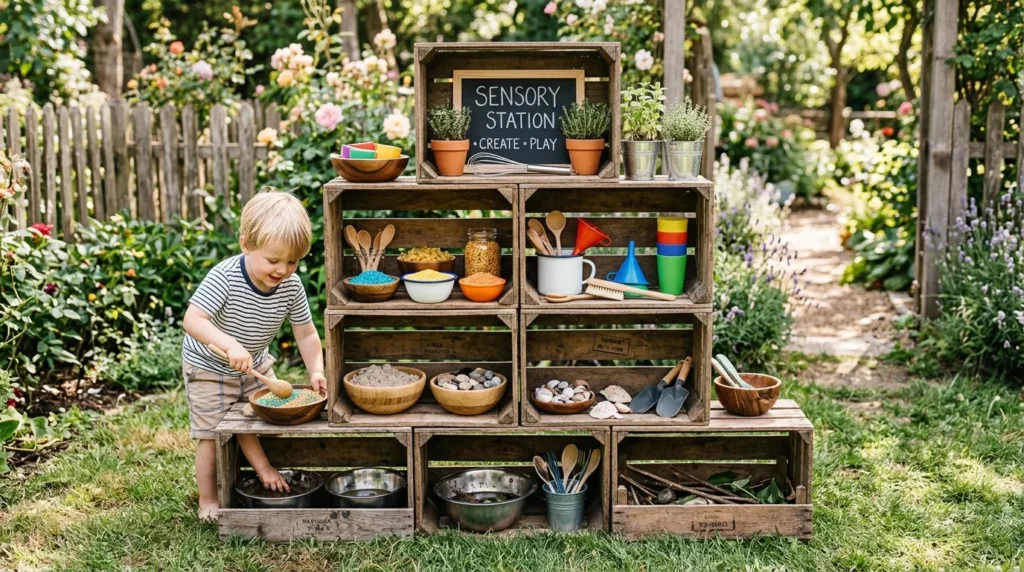
- Utilizes stacked crates to maximize vertical space
- Provides organization for utensils, bowls, and mud ingredients
- Encourages sorting and coordination skills
- Adds layered visual interest to the backyard
Stacked crate shelving is a clever solution for small yards or compact spaces. Wooden or plastic crates can be stacked to create multiple levels for tools, containers, or decorative items. The vertical design encourages organization while keeping items accessible for children. That’s why many designers recommend this approach for sensory play setups: it provides clear structure without limiting creativity. Lightweight crates make rearranging simple, and natural wood textures add rustic charm that blends seamlessly with outdoor environments.
Functionally, tiered shelving allows multiple children to play simultaneously without crowding. Each level can serve a specific purpose, such as mixing mud, storing leaves, or holding water bowls. Kids develop sorting skills, hand-eye coordination, and cooperative play habits. Parents benefit from a tidy, modular system that’s easy to clean and maintain. By adding small labels or color-coded containers, the setup becomes even more engaging and organized. This strategy transforms simple crates into a functional, visually attractive, and highly practical mud kitchen element.
5. Hanging Tool Rack
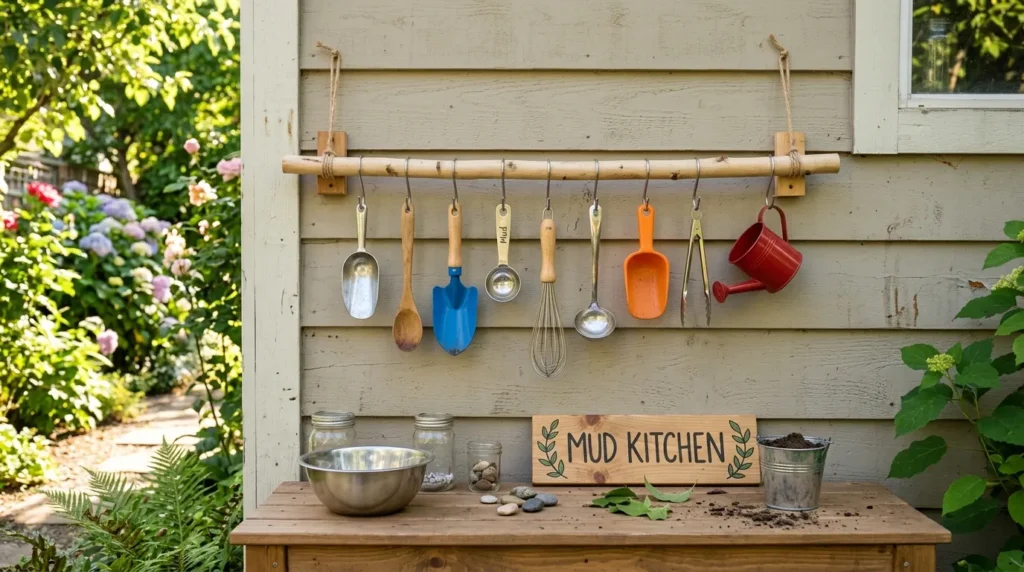
- Hooks utensils, scoops, and small containers for easy access
- Keeps workspace organized and clutter-free
- Encourages independent play and responsibility
- Adds a vertical design element enhancing aesthetics
A hanging tool rack instantly improves usability and organization in a mud kitchen. By installing hooks, rods, or dowels above the counter, children can quickly access and return tools without disrupting the workspace. I’ve seen this work well in many homes: kids feel empowered when tools are easy to find, which encourages longer, more creative play sessions. Metal hooks, wooden dowels, or S-hooks provide flexible options for different utensils, making the setup customizable and visually neat.
The result is a cleaner, more functional play area where everything has a designated spot. Children can sort by type or size, developing organization and motor skills. The vertical element draws the eye, creating an attractive visual focal point. It also keeps counters clear, allowing more surface space for mud play and mixing activities. Adding small baskets or clips increases versatility, ensuring all tools remain accessible while maintaining a polished, Pinterest-worthy backyard layout.