How to Move a Vanity Rough-In 2 Inches to Clear the Toilet
Successfully moving a vanity rough-in 2 inches to clear the toilet is a manageable renovation task that often prevents major layout headaches. Whether you are dealing with a cramped half-bath or upgrading to a larger cabinet, gaining that extra clearance ensures you meet local building codes and maintain functional space. This process involves relocating both the water supply lines and the drain assembly within the wall cavity.
By understanding the specific steps for shifting these lines, you can avoid costly mistakes and ensure your bathroom vanity installation is both compliant and professional.
Immediate Solutions for Clearance Adjustments 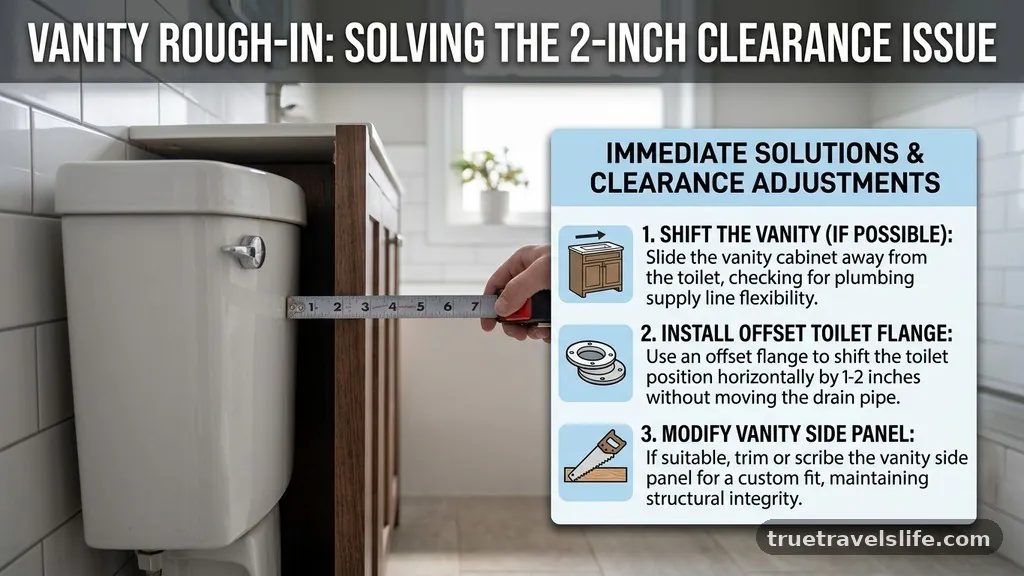
If your primary goal is moving a vanity rough-in 2 inches to clear the toilet, the most direct path involves opening the wall and shifting the existing pipe stubs. You must first shut off the water supply at the main valve or the local shut-off valves before cutting into the drywall. Once the wall is open, you will likely encounter either PVC or copper piping, which requires different tools for alteration.
If you are working with a drain pipe, you must maintain the proper drain slope to ensure the sink empties efficiently. Moving the supply lines is generally easier than shifting the drain, as flexible PEX tubing allows for minor adjustments without major pipe surgery.
Assessing the Wall Cavity and Studs
Before you commit to moving any pipes, you need to know what is inside your wall. Use a stud finder to locate the vertical studs and determine if the current plumbing layout is restricted by structural members.
If you need to move the rough-in 2 inches to the left or right, you might find a stud directly in your way. You cannot simply cut through a load-bearing wall stud without proper reinforcement, such as installing a header or doubling up adjacent studs. If the pipe is currently positioned between two studs, you have a clear path to shift the plumbing within that specific stud bay.
Understanding Bathroom Code and Clearances 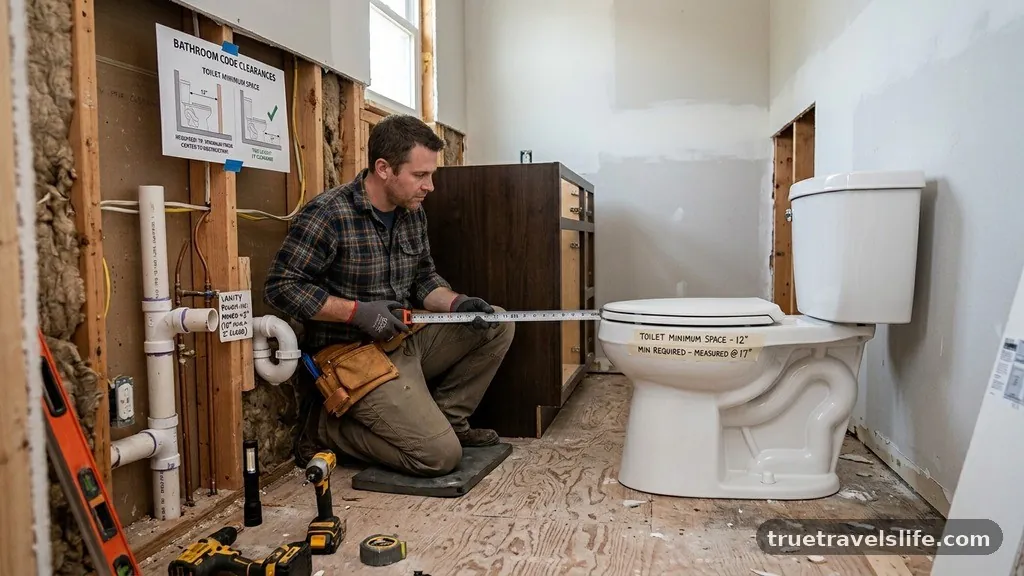
Building codes are not just suggestions; they define the legal minimums for your home renovation.
Most local jurisdictions require at least 15 inches of clearance from the center of the toilet to any side wall or obstruction, including a vanity. When you are moving a vanity rough-in 2 inches to clear the toilet, you are likely trying to reach this 15-inch threshold or create extra walking room. Always check your local plumbing code requirements, as some areas have stricter mandates regarding the proximity of water sources to electrical outlets or waste lines.
Failure to adhere to these clearances can lead to failed inspections if you ever decide to sell your home.
Tools and Materials Required
Gathering the right supplies before you start will save you multiple trips to the hardware store. You will need a reciprocating saw for cutting through studs or drywall, along with a pipe cutter appropriate for your specific material, such as a tubing cutter for copper or a hacksaw for PVC. If you are working with ABS or PVC, ensure you have the correct cement and primer for a watertight seal.
For supply lines, having a crimping tool for PEX or a soldering torch for copper is essential. Keep a supply of pipe fittings on hand, including elbows and couplings, to allow for the necessary offsets.
| Material Type | Primary Tool Needed | Connection Method |
| :— | :— | :— |
| PVC/ABS | Hacksaw or PVC Cutter | Solvent Welding |
| Copper Pipe | Tubing Cutter | Solder and Flux |
| PEX Tubing | PEX Crimping Tool | Crimp Rings/Clamps |
| Galvanized Steel | Pipe Wrench | Threaded Fittings |
Relocating the Waste Drain 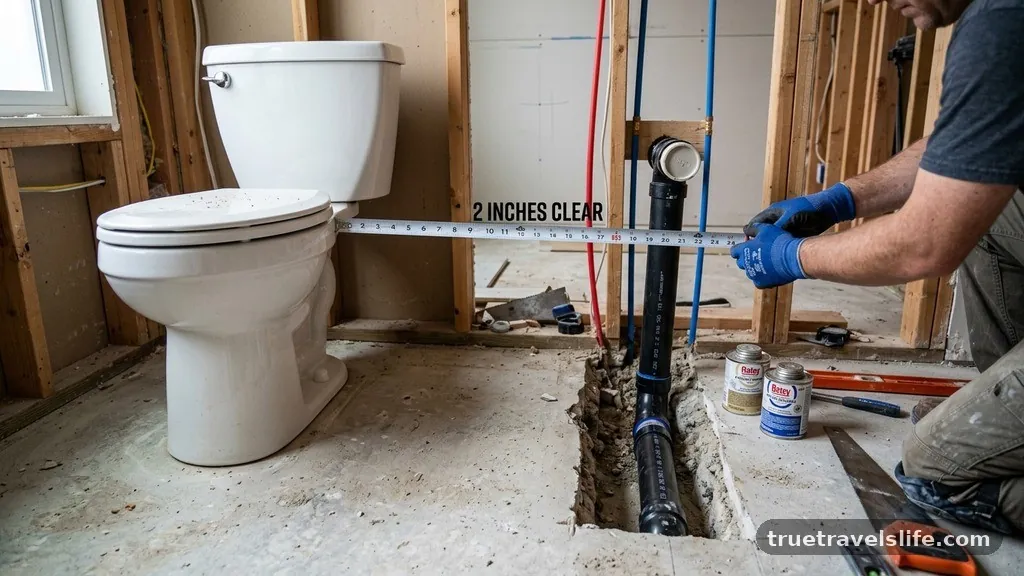
Adjusting the waste drain is often the most complex part of moving a vanity rough-in 2 inches to clear the toilet. The drain pipe must maintain a consistent downward slope of approximately 1/4 inch per foot to prevent clogs and standing water. If you shift the drain horizontally, you may need to install a new sanitary tee inside the wall to reconnect to the main vent stack.
Ensure that the P-trap remains accessible and properly aligned with the new vanity drain location. If the move is significant, you might need to extend the horizontal arm of the drain, which requires careful measurement to keep the connection secure.
Managing Supply Line Shifts
Supply lines are far more forgiving than drain lines, making them the easier component to relocate. When you are moving a vanity rough-in 2 inches to clear the toilet, you can often use flexible PEX piping to snake the water lines to the new holes in the back of the vanity cabinet.
If you are using rigid copper, you will need to cut the pipe, add a 90-degree elbow, and extend the line to the desired position. Always install new shut-off valves once the pipes are in their final location to ensure a clean, leak-free finish. Double-check that your new connections are fully seated before turning the water back on.
Working with Different Pipe Materials 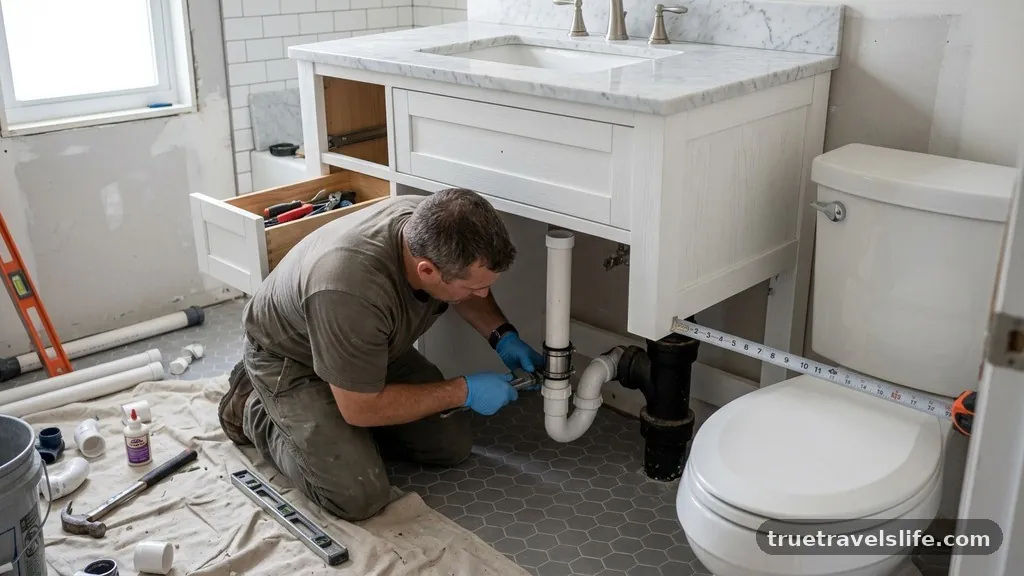
The type of pipe currently in your wall dictates the difficulty of your project.
Older homes often feature copper or galvanized steel, which are significantly harder to modify than modern plastic alternatives. If you find galvanized steel, you may need to replace the entire segment with PEX or PVC to make the job manageable for a DIYer. Always use the appropriate transition fittings when connecting two different types of materials, such as a shark-bite style fitting or a specialized rubber coupling.
Never force a connection, as pipe stress can cause slow leaks that lead to significant water damage inside your walls.
Ensuring Proper Venting
Every plumbing fixture requires a vent to prevent the P-trap from siphoning dry and allowing sewer gas into your home. When you move the rough-in, ensure you are not obstructing the vent stack or creating a configuration that traps air. If your new vanity location moves the drain too far from the existing vent, you may be required by code to add an air admittance valve or extend the venting.
A properly vented system is silent and drains quickly; if you hear gurgling or see slow drainage, your vent may be compromised. Consult a professional if you are unsure about the venting requirements for your specific plumbing layout.
Finishing the Wall and Vanity Installation 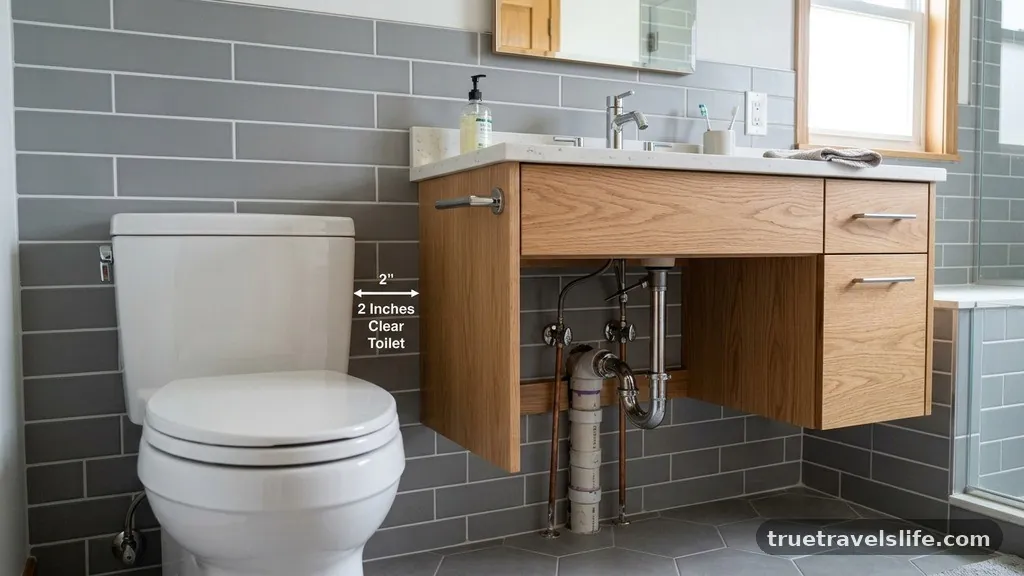
Once the pipes are moved and tested for leaks, it is time to close the wall and install your vanity. Use moisture-resistant drywall, often called green board or cement board, to patch the area where you cut into the wall.
Apply a vapor barrier or proper paint to protect the wall from the humidity inherent in bathroom environments. After the wall is finished, slide the vanity into place and mark the locations for the new supply and drain holes on the back panel. Cut these holes slightly larger than the pipes to allow for minor adjustments and easy installation of the escutcheon plates.
Common Pitfalls to Avoid
Renovations rarely go perfectly, but you can avoid the most common errors with a bit of foresight.
One major mistake is failing to secure the pipes to the studs, which can lead to rattling or eventual joint failure. Another issue is using the wrong type of glue or solder for the pipe material, which will inevitably result in a leak.
Always perform a pressure test on your supply lines and a water test on your drain before you permanently seal the wall. Checking your work with a level ensures that the vanity sits flat and the connections are not under unnecessary tension.
* Always shut off the main water line before starting.
* Verify the slope of the drain pipe is at least 1/4 inch per foot.
* Ensure all new pipe joints are properly primed and glued.
* Check for leaks by running water for several minutes after assembly.
* Use escutcheon plates to cover the gaps around the pipes.
* Confirm that all connections meet local plumbing code standards.
* Install shut-off valves that are easily accessible for future maintenance.
Professional Tips for a Smooth Result
If you find yourself struggling with the plumbing, do not hesitate to consult a local plumber for a quick inspection. Sometimes, having an expert verify your plan before you cut the first pipe can provide the confidence you need to finish the job. Remember that the goal of moving a vanity rough-in 2 inches to clear the toilet is to improve the functionality of your bathroom, not to create a massive maintenance project.
Keep your workspace clean, label your shut-off valves, and document your work with photos for future reference. A little bit of careful planning goes a long way in ensuring your bathroom renovation is a success that lasts for many years to come.
Moving a vanity rough-in 2 inches to clear the toilet is a practical upgrade that significantly impacts the usable space in a bathroom. By methodically addressing the drain slope, supply line placement, and wall cavity requirements, you can achieve a professional-grade result without needing extensive external help. Remember to verify all your connections and adhere to local plumbing codes to ensure your home remains safe and compliant.
Whether you are doing this as part of a larger remodel or a focused repair, the effort you put into the rough-in phase will pay off in the long run. If you have any specific concerns about your wall structure, feel free to reach out to a local professional to confirm your plan.