
How to Notch Vanity Baseboard Trim for Tight Door Swings
When you install a new bathroom vanity, you often encounter a clash between the cabinet and the existing baseboard. Notching vanity baseboard trim for tight door swings is a common necessity when the vanity footprint overlaps the door’s swing path or creates an awkward transition near the casing. If the door casing is too close to the vanity, the trim will prevent the door from opening fully or cause it to strike the cabinet face.
You can resolve this interference by carefully removing a section of the molding or creating a custom profile that allows the door to clear the obstruction. This process ensures your bathroom renovation looks professional while maintaining full functionality.
Measuring and Marking the Interference
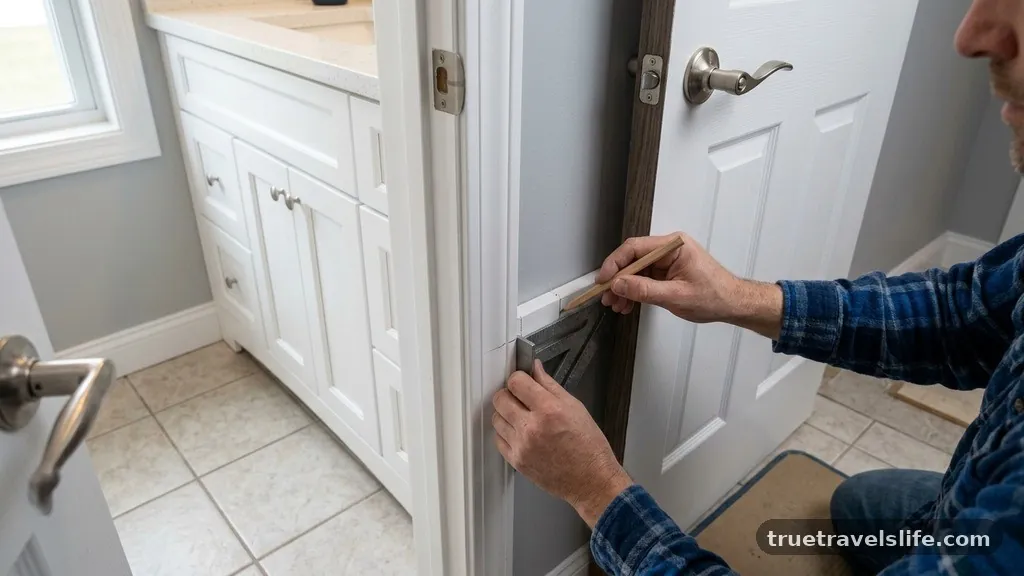
The first step in notching vanity baseboard trim for tight door swings is determining exactly how much material to remove. Place your level or a straight edge against the door casing to see where the door’s arc intersects the vanity. You should mark the baseboard with a pencil at the point where the door edge makes contact.
Tools for Precision
- Combination square for marking straight lines
- Pencil or fine-tip marking tool
- Painter’s tape to protect the finished surface
- Multi-tool or jigsaw for the actual cut
Always account for the thickness of the door itself. A door that is 1.5 inches thick will require a slightly larger notch than a thinner hollow-core door. Once you have your marks, double-check them by slowly swinging the door to verify the clearance.
Executing the Cut
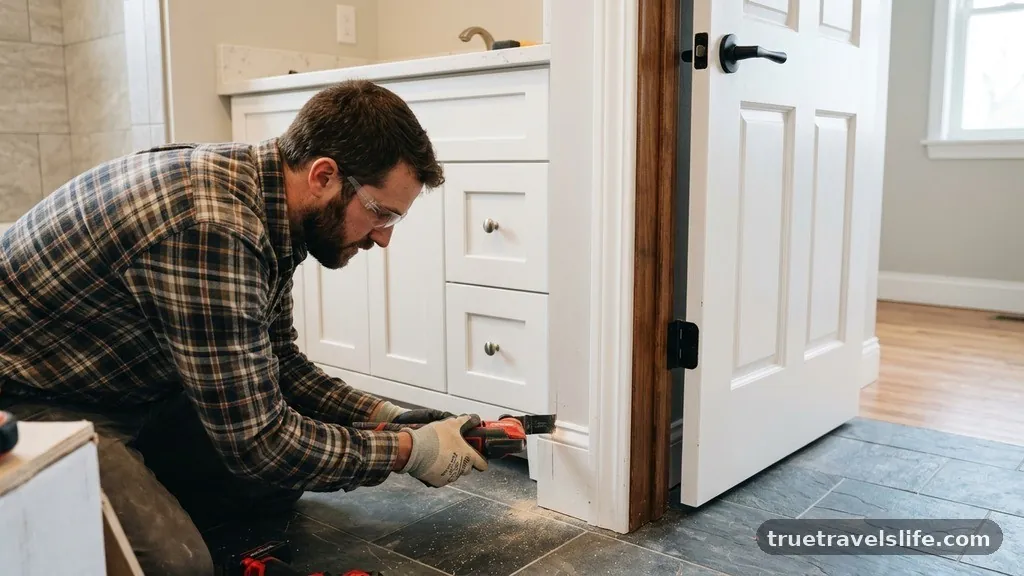
Once you have identified the clearance zone, you need to make a clean cut to allow for a snug fit. A multi-tool with a wood–cutting blade is the most effective instrument for this task because it allows you to reach into tight corners near the wall. If you are removing a larger section, a jigsaw or even a hand-held coping saw may work better depending on the profile of your molding.
Comparison of Cutting Methods
| Tool | Best Use | Accuracy |
|---|---|---|
| Multi-tool | Tight corners, plunge cuts | High |
| Coping Saw | Intricate profiles | Moderate |
| Jigsaw | Long, straight sections | High |
Keep your blade perpendicular to the floor to ensure the edge remains flush. If you are working with stained wood, take your time to avoid splintering the finish. A slow, steady hand prevents the saw from jumping and damaging the surrounding wall or the vanity cabinet.
Refining the Fit and Finishing
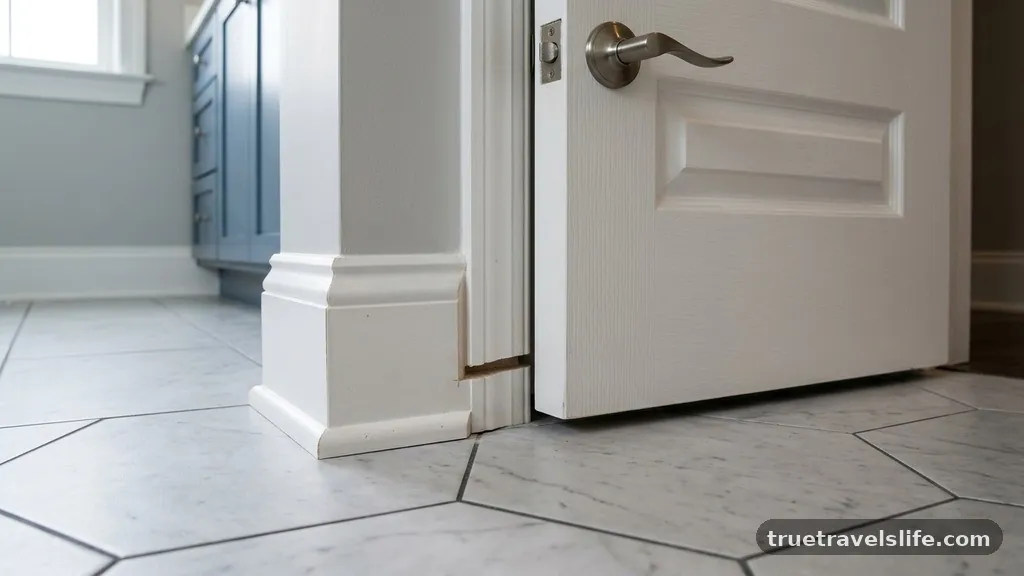
After the initial cut, you may find that the piece does not sit perfectly against the vanity or the door casing. Use a wood file or sandpaper to smooth the rough edges of the notch. If the gap between the trim and the vanity is larger than expected, you can use a high-quality paintable caulk to seal the joint.
Apply the caulk in a thin, consistent bead along the edge where the trim meets the cabinet. Smooth it out with a damp finger or a small caulking tool to create a professional seal.
If the notch exposes raw wood, touch it up with matching paint or stain before the final installation. This attention to detail prevents moisture from seeping behind the vanity and keeps the transition looking intentional rather than makeshift.
Final Considerations
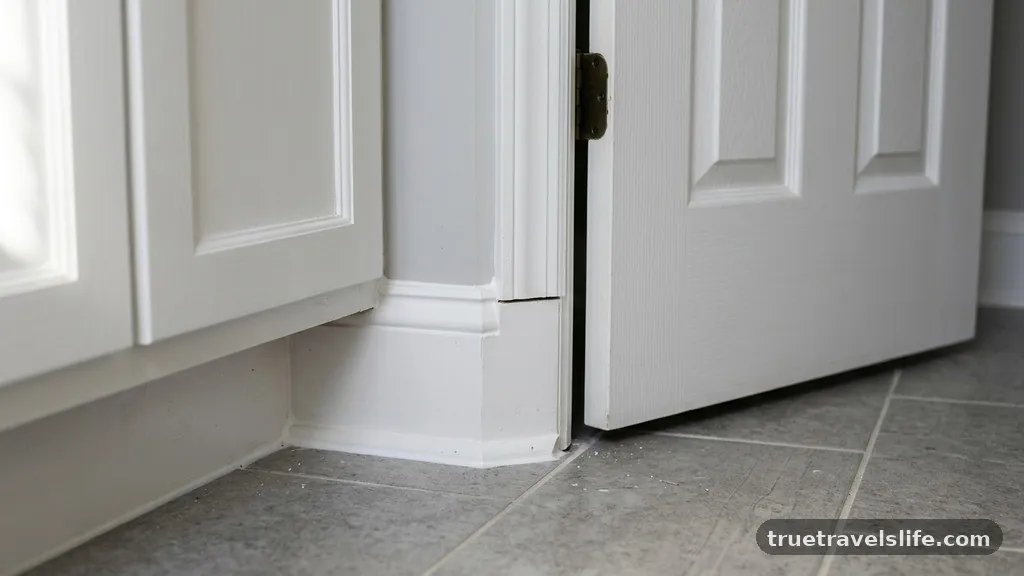
Notching vanity baseboard trim for tight door swings is a task that rewards patience and careful planning. By measuring the clearance accurately and using the right tools to create a clean notch, you can ensure that your bathroom door functions perfectly without sacrificing the aesthetic of your baseboards. Always verify your measurements twice before committing to a cut, as trim material can be difficult to replace if you make a mistake.
If the interference is significant, consider using a plinth block to transition the height difference between the door casing and the baseboard. These small, thoughtful adjustments are what separate a DIY project from a high-quality renovation. If you encounter any unexpected issues during the process, take a moment to evaluate the fit before applying final finishes.