11 This Is How to Create a Mud Kitchen Kids Will Love
A mud kitchen is one of those backyard projects that looks simple, but it can completely change how kids use outdoor space. Instead of needing expensive play equipment, children get a real-feeling place to scoop, pour, stir, sort, pretend, and explore nature with their hands. For families across the USA, especially those with suburban yards, patios, garden corners, or small outdoor spaces, a mud kitchen can turn an ordinary backyard into a creative play zone kids return to again and again.
This Is How to Create a setup children actually love: build it around real play behavior, not just pretty photos. Kids need reachable surfaces, washable tools, safe materials, loose natural items, water access, storage, and enough freedom to make a mess without stress. These ideas are practical, backyard-friendly, and Pinterest-worthy, while still being realistic for parents who want something useful, affordable, and easy to maintain.
1. Backyard Play Spot
- Choose a shaded area where kids can play comfortably
- Keep it close enough for easy supervision
- Use grass, mulch, gravel, or patio space underneath
- Avoid placing it near delicate plants or slippery walkways
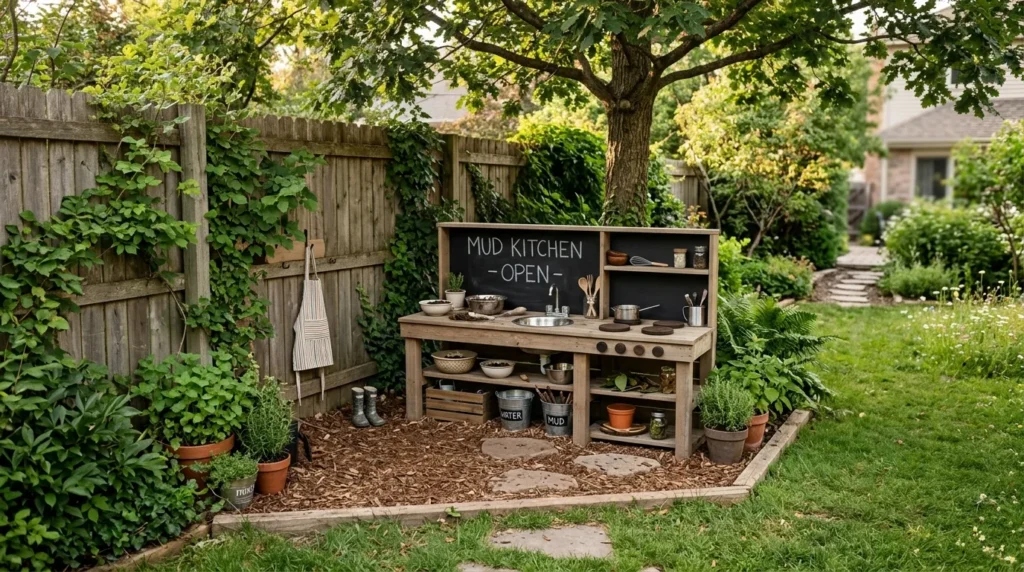
A great mud kitchen starts with location because the right spot makes play easier, safer, and more enjoyable. Choose an area that gets some shade, has enough room for movement, and can handle water, dirt, leaves, and messy play. A fence corner, garden edge, patio side, or area near a sandbox can work beautifully. In my experience, kids use the space more often when it feels like their own little outdoor zone but still stays close enough for adults to supervise without hovering over every scoop and splash.
The transformation begins when that ignored backyard corner suddenly has purpose. Add a small outdoor mat, stepping stones, mulch, or pea gravel so the area feels defined and drains better after water play. Keep it away from fragile landscaping, outdoor outlets, and high-traffic walkways where mud could become slippery. The goal is not perfection; it is creating a spot where kids can experiment freely. A thoughtful location also makes cleanup less stressful because the mess stays in one predictable area instead of spreading across the entire yard.
2. Child Height Counter
- Build or choose a surface kids can reach easily
- Use pallets, crates, potting benches, or outdoor tables
- Sand rough edges before play begins
- Keep the counter stable, sturdy, and weather-safe
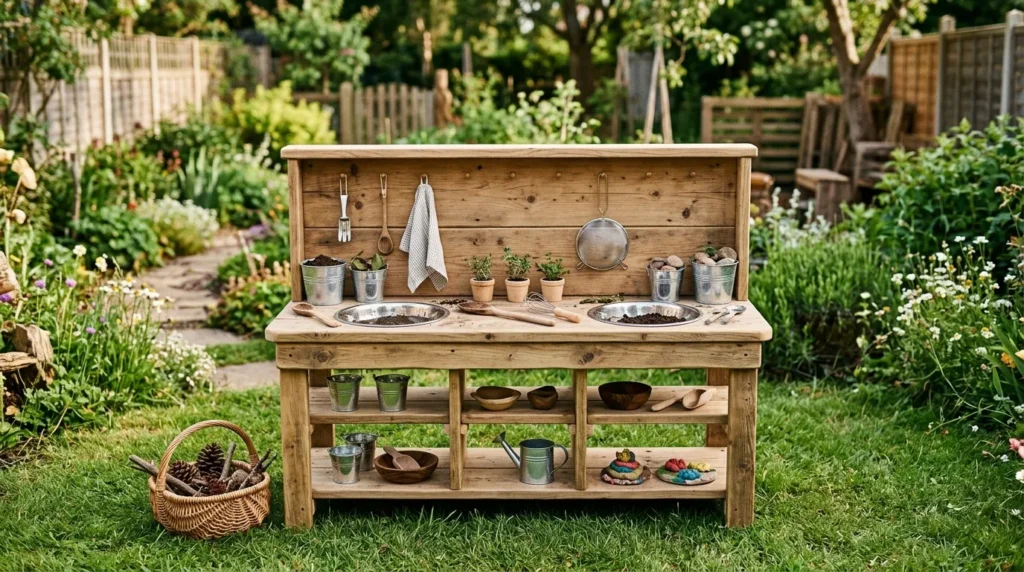
A child-height counter makes the mud kitchen feel real because kids can stand, reach, mix, and pretend without struggling. The work surface can be made from a small outdoor table, reclaimed pallet, stacked crates, an old potting bench, or a sturdy wooden board on safe supports. The most important detail is height. If the counter is too tall, children will lose interest or climb unsafely. Sand every rough edge, check for splinters, and make sure the structure does not wobble during energetic play.
The result is a more independent play setup where kids can actually use the space comfortably. A counter gives them room to make mud pies, leaf soup, pebble cupcakes, and pretend garden meals. For younger children, keep tools and bowls on the surface rather than high shelves. For older kids, add a second shelf underneath for supplies. That’s why many outdoor play designers recommend building around the child’s body size first. A beautiful mud kitchen matters less if children cannot reach, move, and create with ease.
3. Simple Sink Bowl
- Use a removable metal or plastic bowl as a pretend sink
- Avoid complicated plumbing for an easier build
- Add a nearby watering can or small water jug
- Make cleaning simple by lifting the bowl out
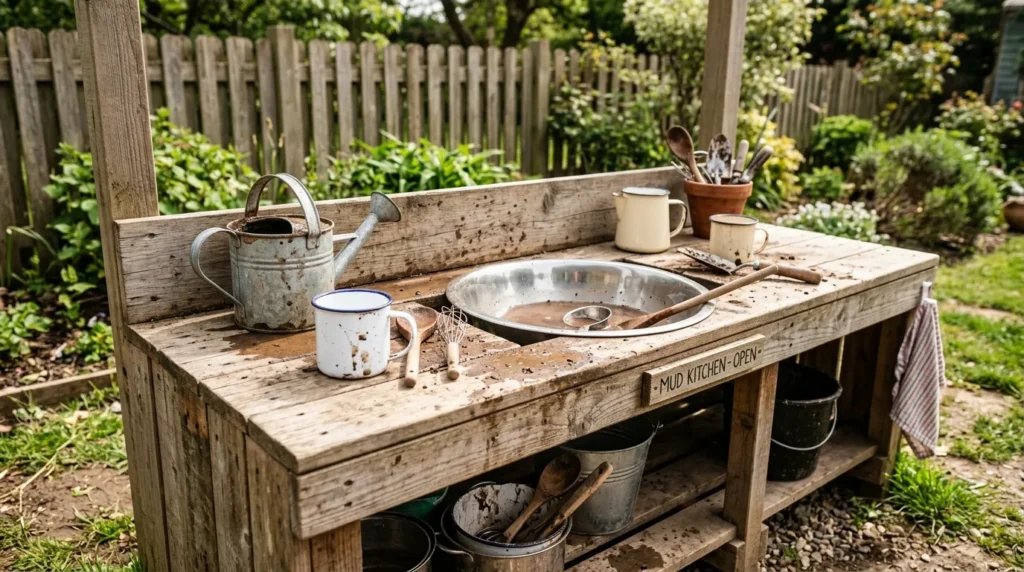
A removable sink bowl is one of the easiest ways to make a mud kitchen feel exciting without adding plumbing. Use a stainless-steel mixing bowl, plastic basin, enamel pan, or old dish tub as the sink. Cut a hole in the counter if you want it inset, or simply place the bowl on top for easier cleaning. Kids love having a “sink” because it gives them a place to wash rocks, mix water, rinse spoons, and create pretend soup with mud, petals, and leaves.
The practical benefit is huge for parents because the bowl can be lifted out, dumped, rinsed, and reset quickly. This keeps the play area cleaner than a permanent waterlogged surface. Add a watering can, small pitcher, or camping water jug nearby so children can control small amounts of water. The setup feels realistic but remains low-maintenance. It also works well for renters or families who do not want to build anything permanent. The sink becomes the heart of the mud kitchen, even when the rest is simple.
4. Nature Ingredient Bar
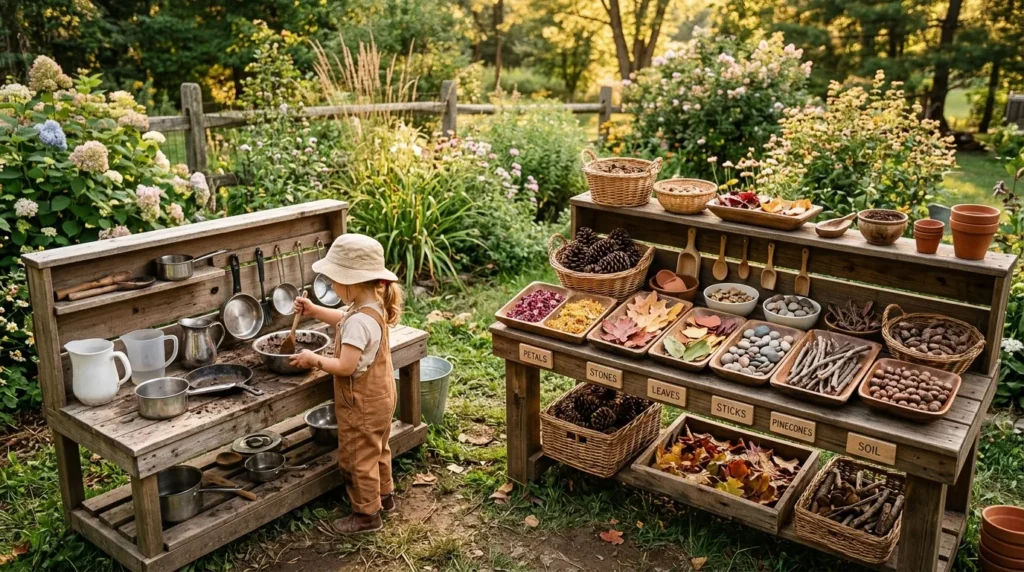
- Fill baskets with leaves, pinecones, sticks, stones, and petals
- Rotate materials by season for fresh play ideas
- Use shallow bins so children can see everything
- Keep items natural, safe, and age-appropriate
A nature ingredient bar gives children endless ideas because it turns ordinary backyard finds into pretend cooking supplies. Set out shallow baskets, trays, or small bins filled with leaves, smooth stones, pinecones, seed pods, sticks, flower petals, and garden clippings. The goal is not to create a perfect display, but to make materials easy to see and choose. Kids naturally sort, count, smell, mix, and compare textures when the ingredients are organized in a way that invites hands-on exploration.
The best part is that this station changes with the seasons. Spring can bring petals and herbs, summer can offer grass clippings and shells, fall can bring acorns and colorful leaves, and winter can include evergreen pieces or smooth stones. Keep safety in mind by avoiding poisonous plants, sharp sticks, treated mulch, and tiny choking hazards for younger children. The result feels beautiful and educational without becoming a lesson. It encourages sensory play, nature connection, and creative storytelling while using materials already available in many real backyards.
5. Real Kitchen Tools
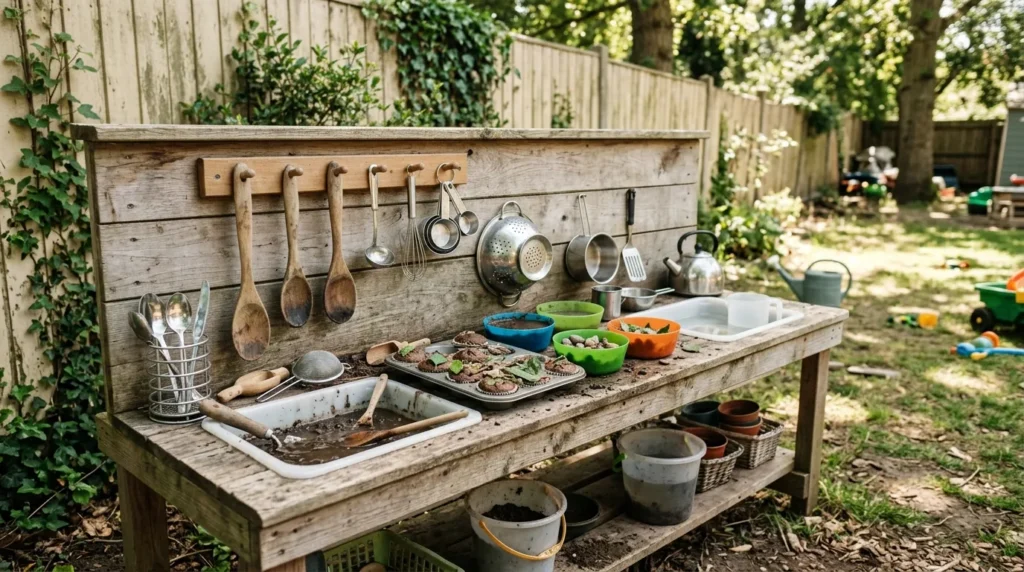
- Use old spoons, muffin tins, cups, ladles, and pans
- Choose durable items that are safe for outdoor play
- Avoid sharp, glass, or breakable pieces
- Store tools in baskets, hooks, or small crates
Real kitchen tools make mud play feel more meaningful because children recognize them from everyday life. Old wooden spoons, metal measuring cups, muffin tins, colanders, ladles, small pots, silicone spatulas, and plastic bowls can all become outdoor play materials. Choose items that are sturdy, washable, and safe for little hands. Avoid glass jars, sharp peelers, heavy cookware, or anything with loose parts. In my experience, kids prefer real tools over toy versions because they feel more important and capable while using them.
The transformation is immediate because a simple backyard counter starts feeling like a true pretend kitchen. Hang spoons on hooks, stack muffin tins on a shelf, and place cups in a small basket for easy access. Muffin tins are especially useful because kids can sort pebbles, make pretend cupcakes, or arrange flower petals by color. A colander becomes a washing basket, and a ladle becomes a soup tool. These details create rich pretend play without requiring expensive supplies, making the setup feel practical for everyday family life.
6. Water Play Corner
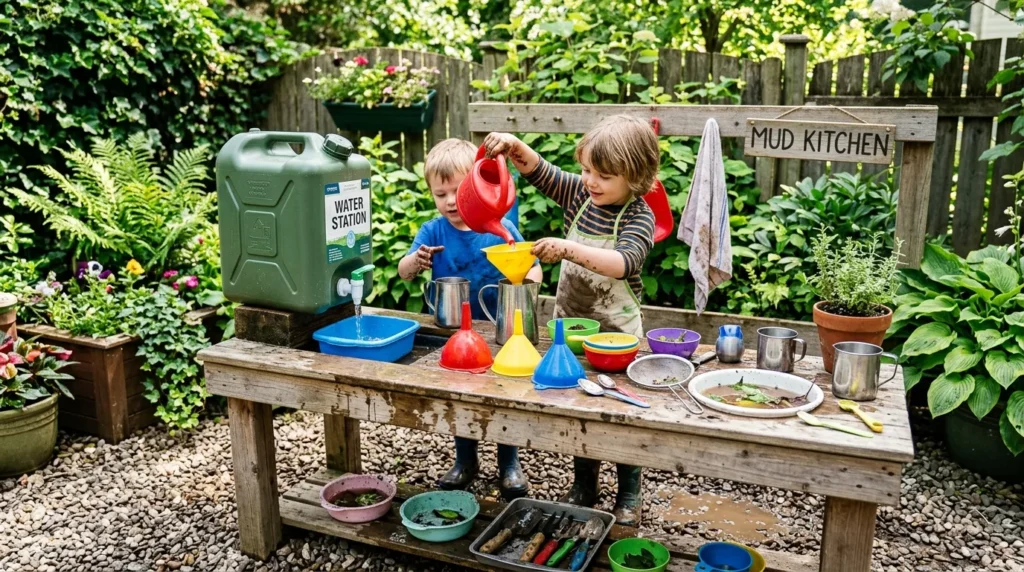
- Add a controlled water source for pouring and mixing
- Use watering cans, pump jugs, pitchers, or small buckets
- Place the area where drainage is easy
- Teach children to refill and reset tools after play
A water play corner brings the mud kitchen to life because water is what turns dirt, sand, leaves, and pebbles into active sensory play. You do not need plumbing or a full outdoor sink. A watering can, drink dispenser, camping jug, small bucket, or hand pump can work well. Place water near the pretend sink or mixing area, but keep the flow controlled so the yard does not flood. This setup helps children practice pouring, measuring, rinsing, and problem-solving during open-ended play.
The key is creating a system kids can manage with minimal frustration. A small refill station teaches independence while limiting waste. Place the kitchen on gravel, mulch, grass, or washable patio flooring so water drains safely. Add pitchers, funnels, cups, and small basins to extend play. The result is more engaging than dry pretend cooking because children can change textures and experiment. They learn what happens when mud gets thick, thin, smooth, sticky, or soupy, which makes the kitchen more exciting every time they return.
7. Smart Storage
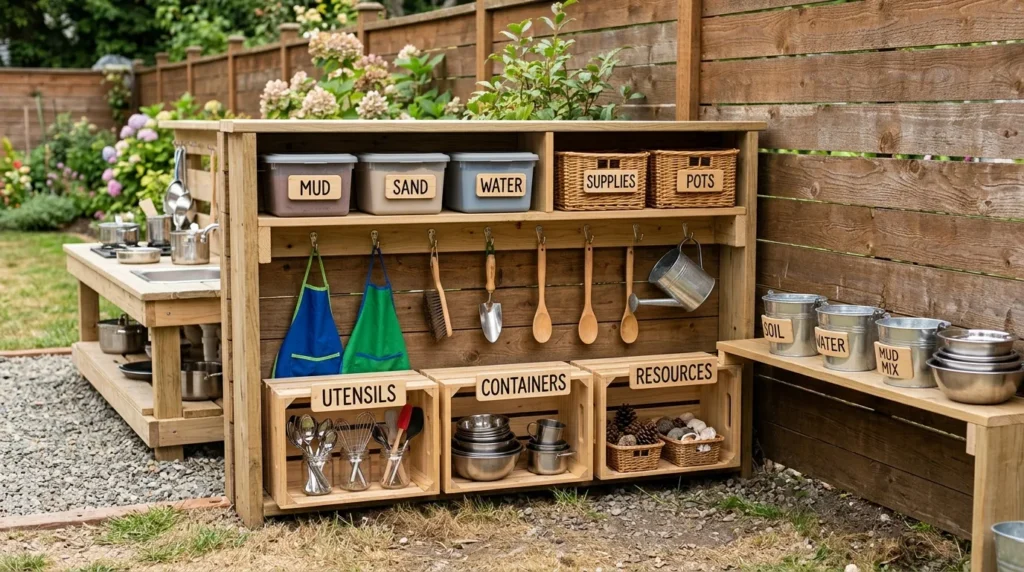
- Use crates, baskets, hooks, shelves, and lidded bins
- Keep muddy tools separate from clean pretend dishes
- Make supplies easy for children to return
- Choose weather-friendly storage for outdoor use
Smart storage keeps a mud kitchen from turning into a scattered pile of buckets and spoons. Use wooden crates, wire baskets, plastic bins, hooks, shelves, or a small outdoor storage box to organize tools. Keep the most-used items at child height and store extra supplies below the counter. Separate muddy tools from cleaner pretend dishes so cleanup feels easier at the end of play. A simple storage system helps children understand where things belong and makes the area look intentional even after a messy afternoon.
The best storage is easy enough for kids to use independently. If a child cannot return the ladle, bowl, or bucket without help, the system is probably too complicated. Use open baskets for daily items and lidded bins for materials that should stay dry. Labels with pictures work well for younger children who are not reading yet. I’ve noticed mud kitchens stay popular longer when cleanup is part of the routine, not a stressful adult-only task. Good storage protects supplies and keeps the backyard looking cared for.
8. Chalkboard Menu
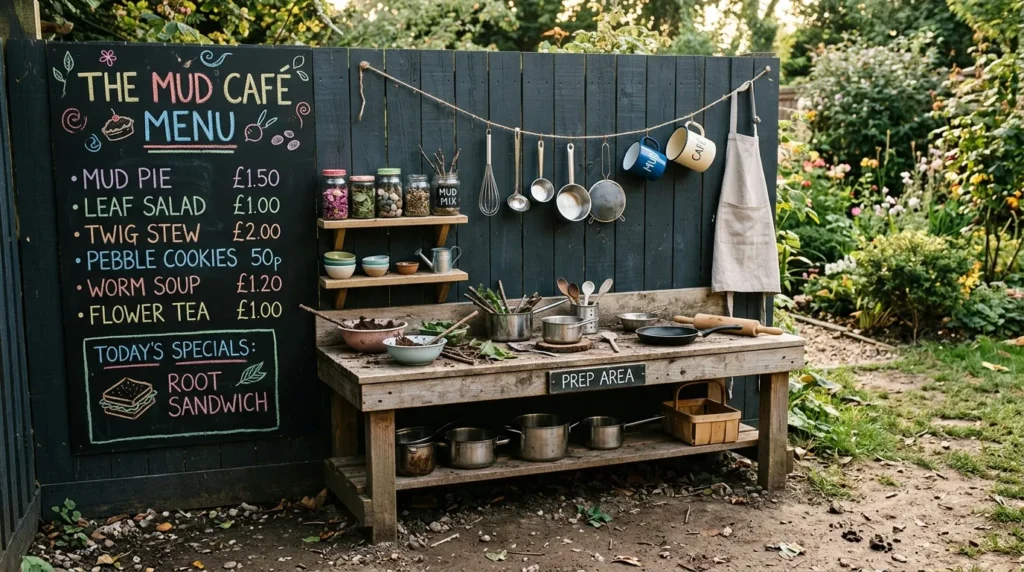
- Adds pretend café, bakery, and restaurant play
- Encourages writing, drawing, counting, and naming
- Works with fence panels, framed boards, or chalk paint
- Makes the mud kitchen look cute and finished
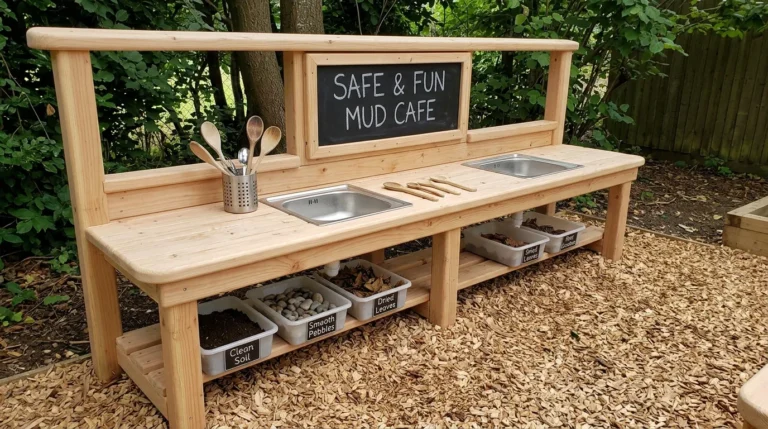
A chalkboard menu adds personality because it turns the mud kitchen into a pretend café, bakery, garden restaurant, or outdoor shop. Mount a weather-safe chalkboard on a fence, wall, or wooden backing near the counter. Children can write menus, draw recipes, count pretend prices, or name their mud creations. This detail encourages literacy and imaginative storytelling without feeling like schoolwork. Use outdoor chalkboard paint or a sealed board, and keep chalk in a small covered container so it stays dry between play sessions.
The visual upgrade is also strong because a chalkboard creates a clear focal point. Parents can write playful prompts like “pinecone muffins,” “flower tea,” “rock soup,” or “leaf pancakes” to inspire new ideas. Kids can erase and rewrite the menu as their play changes. The result is charming, practical, and highly Pinterest-friendly while still being useful in real life. It also gives older siblings a way to participate by writing signs, taking orders, or decorating the kitchen before younger children start cooking.
9. Cozy Shade Zone
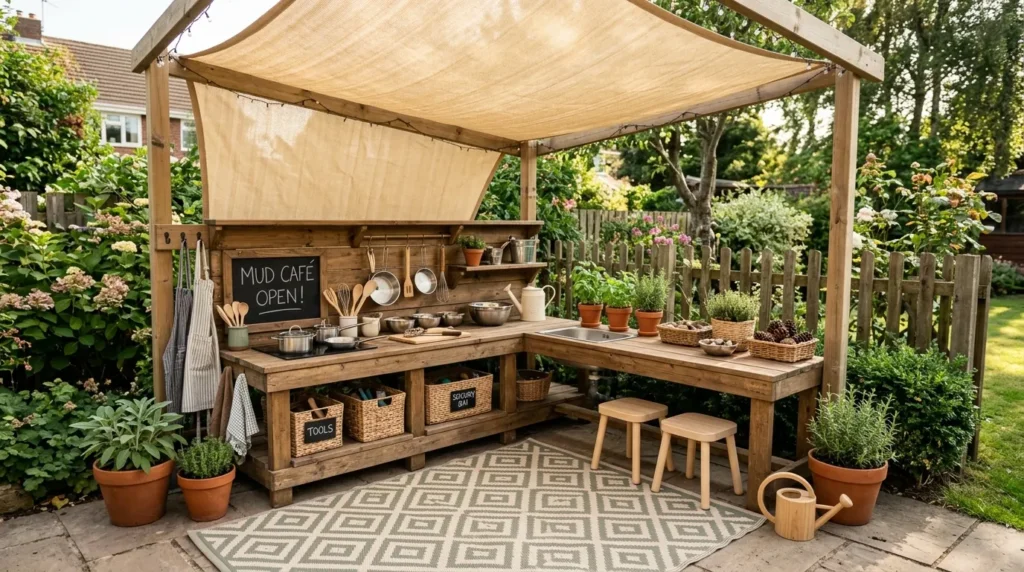
- Protects children from harsh sun during outdoor play
- Works with umbrellas, shade sails, pergolas, and covered patios
- Helps supplies last longer outside
- Creates a comfortable backyard play destination
A cozy shade zone makes the mud kitchen more comfortable and usable, especially during warm USA summers. Place the kitchen under a shade sail, patio cover, tree canopy, pergola, or large outdoor umbrella. This keeps children cooler, protects supplies from fading, and prevents metal tools or bowls from getting too hot in direct sunlight. Shade also helps children stay focused longer because they are not squinting, overheating, or rushing through play. Comfort matters more than many parents expect when designing outdoor spaces for kids.
The finished area feels more like a small outdoor room, especially if you add a washable mat, low stools, and nearby planters. Keep airflow in mind so the space does not feel stuffy during humid weather. If the area gets rain, store chalk, fabric accessories, and extra tools in a covered bin. The result is a mud kitchen that works beyond perfect weather days. It becomes a reliable backyard destination for after-school play, weekend mornings, playdates, and relaxed family afternoons outside.
10. Safe Surface Plan
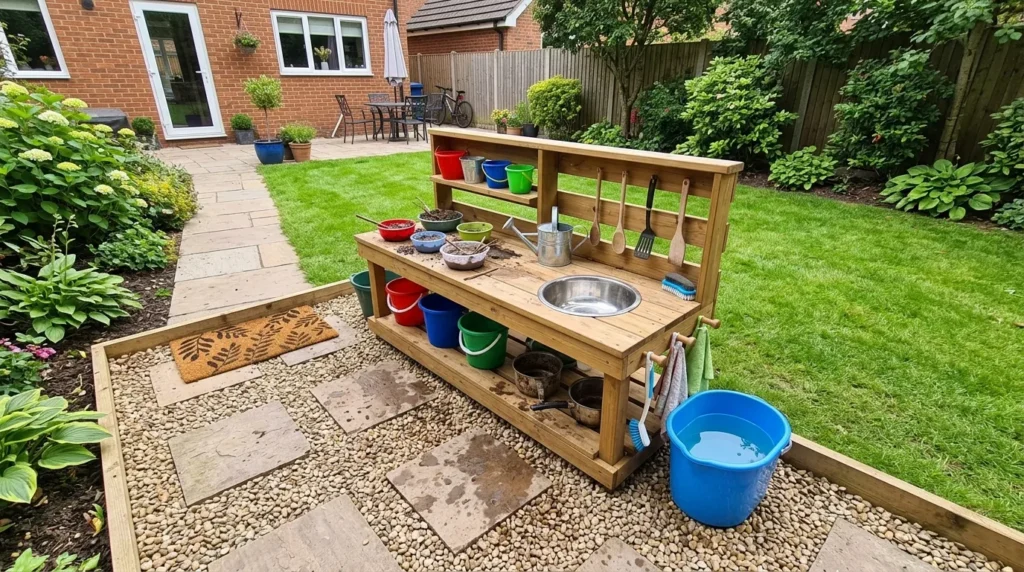
- Prevents slipping, puddles, and muddy traffic paths
- Works with mulch, pea gravel, pavers, grass, or outdoor mats
- Helps define the play area visually
- Makes cleanup easier after wet play
A safe surface plan matters because mud kitchens naturally involve water, dirt, and movement. Choose a base that can handle mess without becoming dangerously slippery. Grass works well for casual setups, but it may wear down over time. Mulch and pea gravel provide drainage, while pavers or patio stones create a cleaner surface. Outdoor mats can help define a temporary play zone. The goal is to support messy play without creating standing water, slick paths, or muddy trails across the entire yard.
The transformation is both practical and visual. A defined surface makes the mud kitchen feel like an intentional part of the backyard instead of a random messy corner. It also teaches children where the play zone begins and ends. Place a small rinse bucket or towel station nearby if kids often move between the kitchen and the house. This Is How to Create a space parents can live with: design for the mess before the mess happens. The result is safer, cleaner, and easier to maintain.
11. Playdate Ready Setup
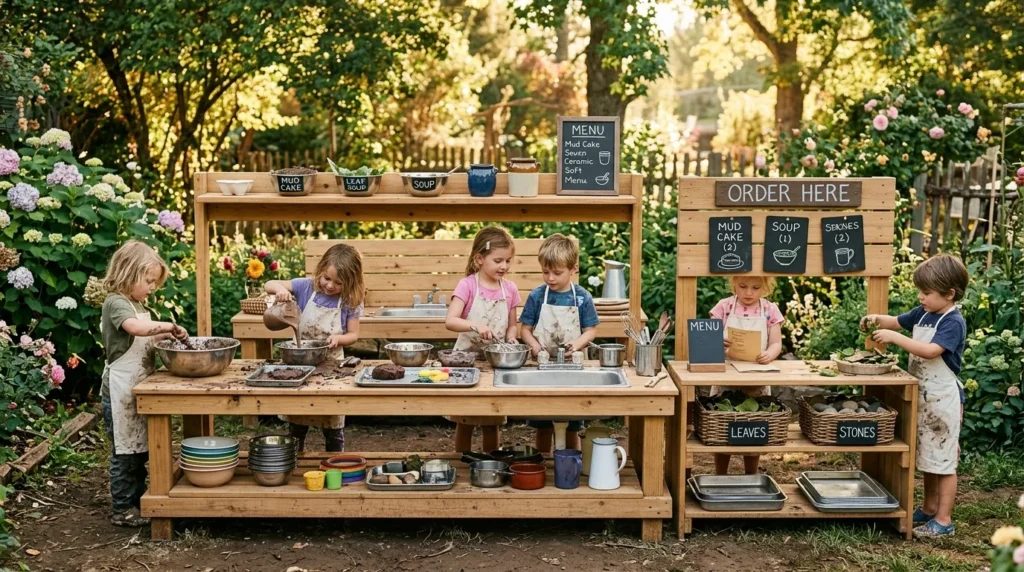
- Adds multiple stations so children can play together
- Uses extra bowls, scoops, trays, and serving areas
- Encourages cooperation, language, and pretend roles
- Perfect for siblings, parties, and backyard gatherings
A playdate ready setup keeps the mud kitchen fun when more than one child wants to use it. Create small zones for mixing, washing, serving, and collecting ingredients so children are not crowding one tiny counter. Add extra bowls, trays, spoons, cups, and baskets so everyone has something to do. One child can make mud pies, another can collect leaves, and another can run the pretend café. This setup reduces arguments because the play naturally spreads across different roles and activities.
The finished kitchen feels social, creative, and full of possibility. Add a small serving shelf, chalk price signs, pretend order cards, or a basket of “special ingredients” for group play. This is especially useful for birthday parties, cousin visits, neighborhood playdates, and sibling afternoons. The result is more than a backyard craft project; it becomes a shared imaginative space. With a little planning, children can practice cooperation, storytelling, counting, sorting, and communication while simply having fun outdoors with mud, water, and nature.